Creating historical atomic prints using an organic nuclear fusion reactor
Okay, spoiler alert: the fusion reactor is just the good ol’ fashioned sun in the sky!
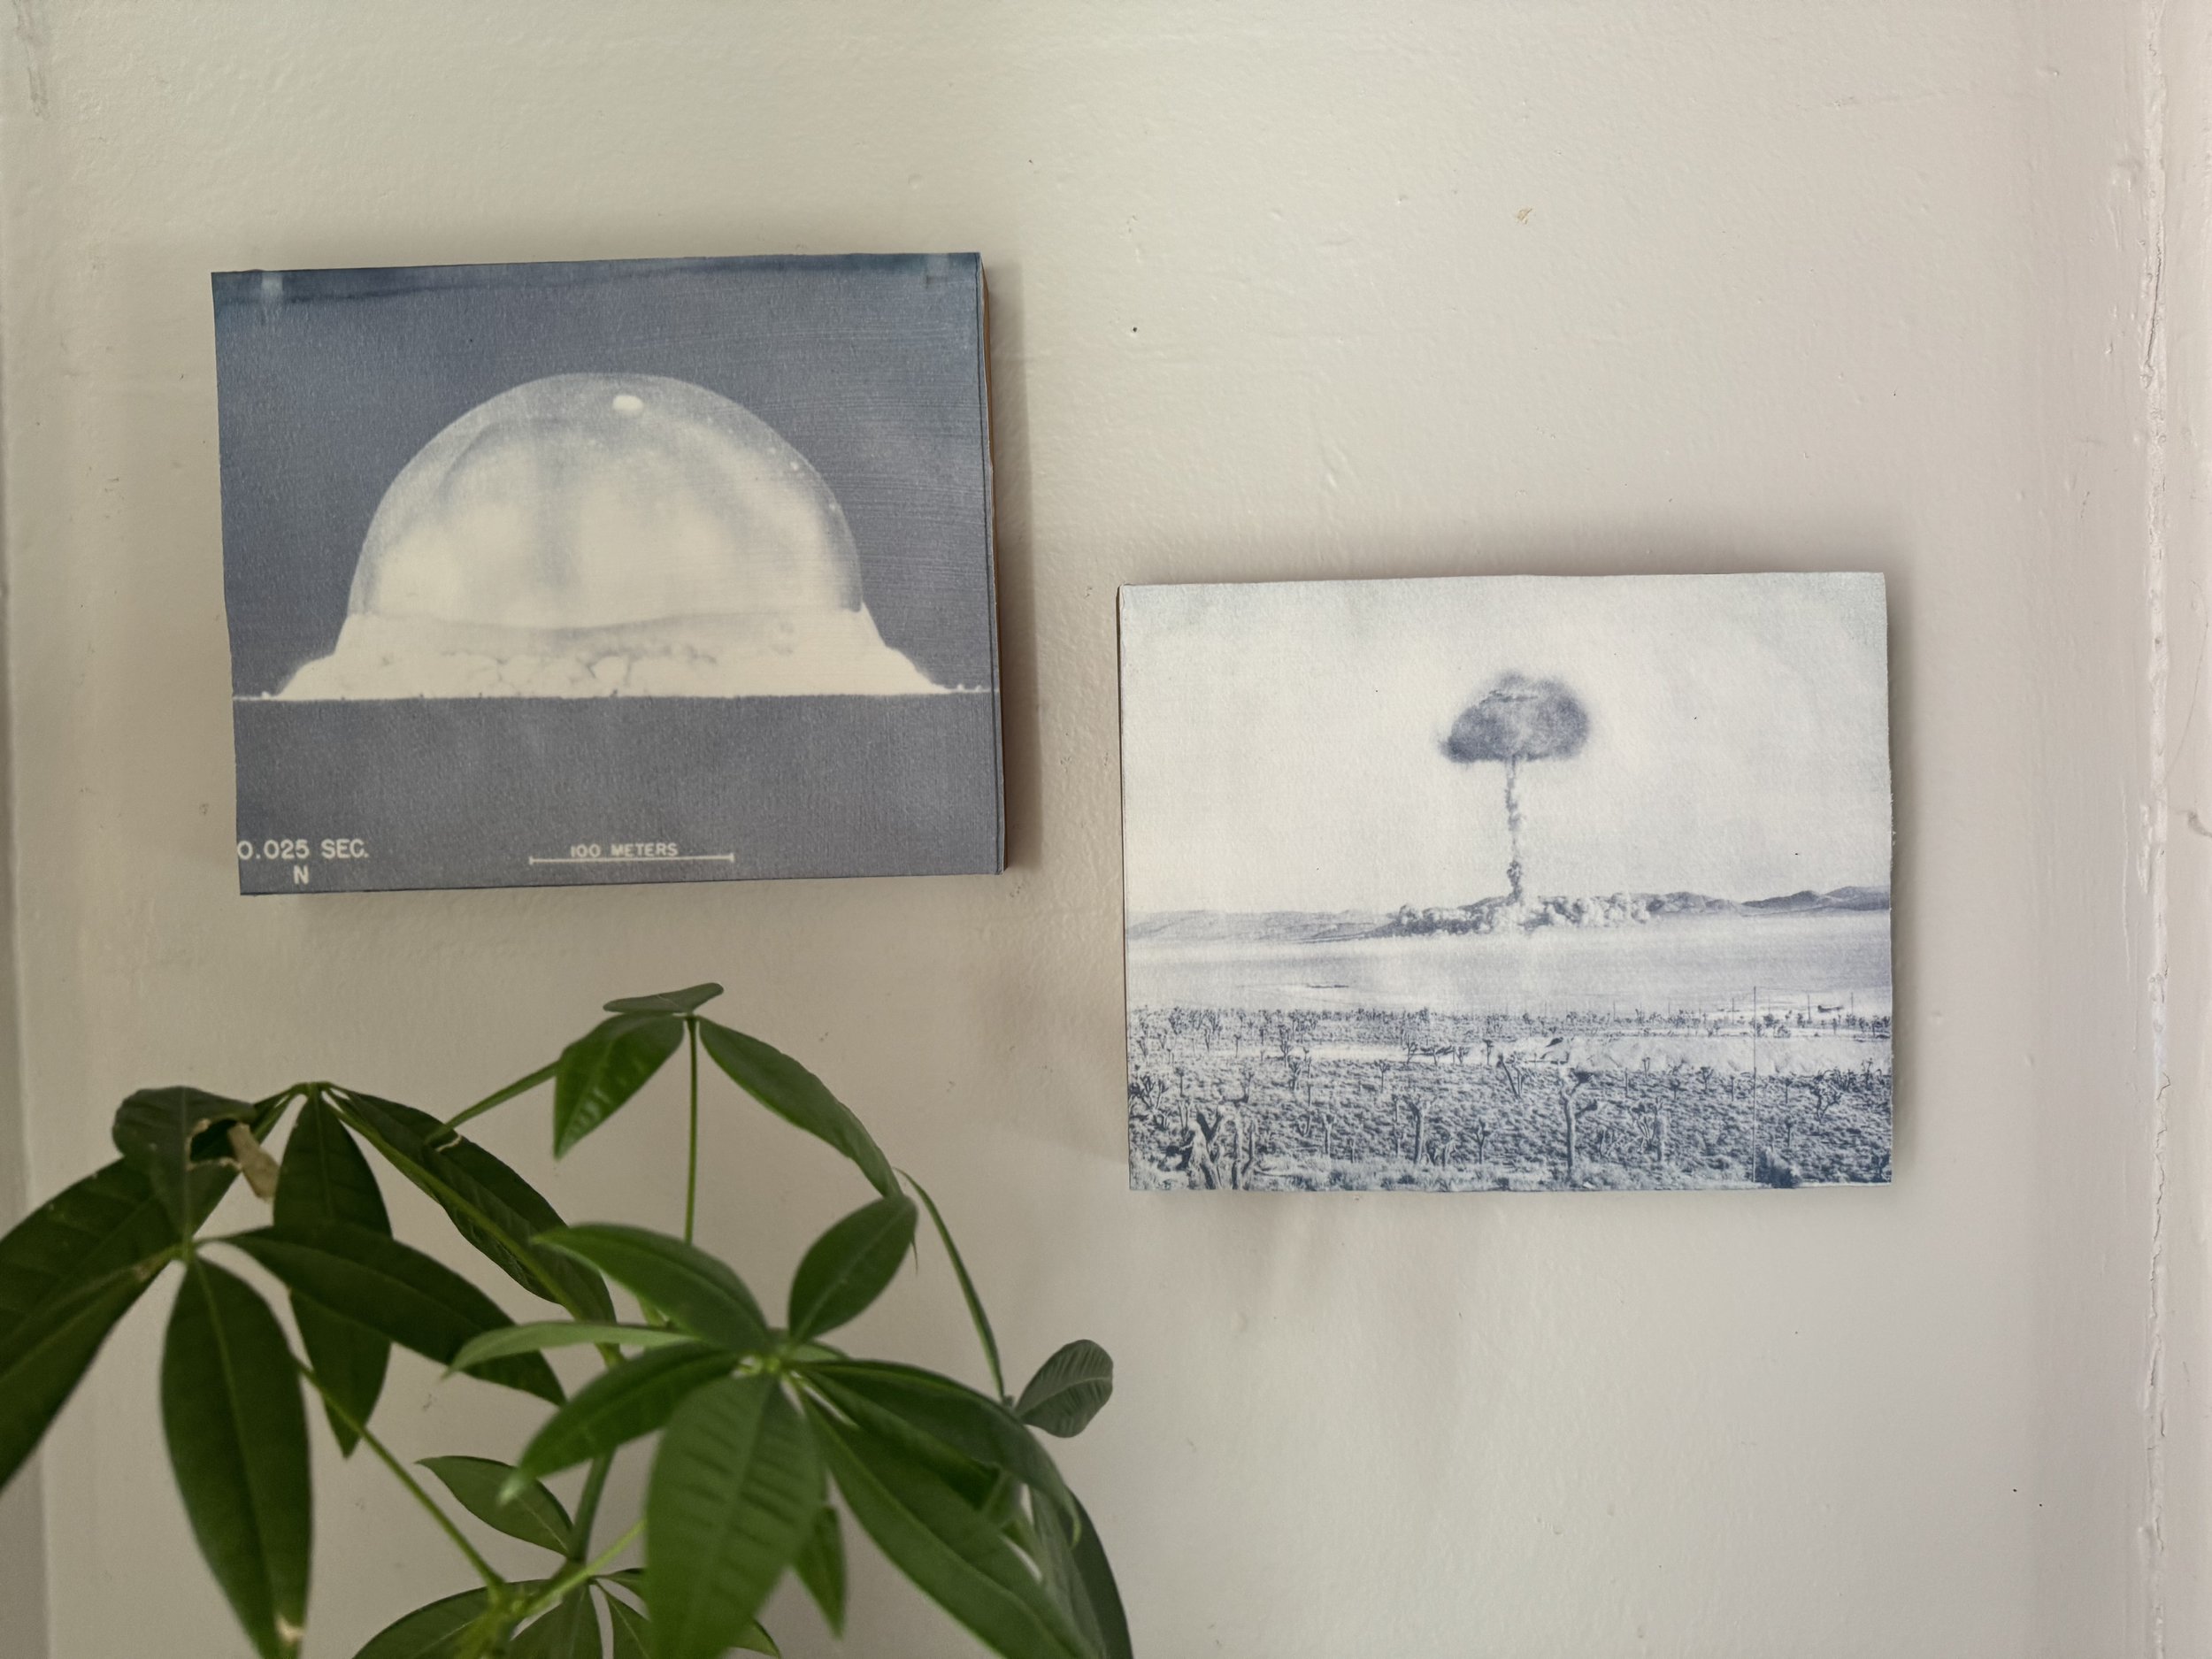
The prints I am sharing with you today are sunshine-made and showcase atomic history (yes, there is a nuclear science theme here!). By using a technique called cyanotype, I used public-domain photos from the Manhattan project and atmospheric testing era.
This cyanotype print shows atomic test, “Crossroads Baker,” 1946
What is cyanotype? Cyanotype is the oldest for of photography. You expose a chemical and paint it onto a medium. You do this first step in the dark, because when the medium exposed to the the sun it turns blue. But, whatever is in shadow turns does not get exposed, and after being rinsed with cold water, the elements in shadow are white, and whatever light comes through turns different shades of Prussian blue depending on the amount of light.
The most common form of cyanotype comes in are kits that are referred to as “shadow art”– the chemicals are already mixed and, allowing kids and adults to capture shapes of flowers and pine ones using the beautiful exposure of the sun.
These prints show atomic history in the United States, starting with the Trinity test on July 16, 1945.
Cyanotype prints can also be created using negatives. The blue and white gives a vintage look. Being from northern New Mexico, I decided it would be awesome to capture atomic history as a cyanotype. I like the idea of using historical mushroom clouds from scientific tests as my subject with cyanotype as my medium.
After inverting photos, and adjusting contrast, I printed my historical photos on transparent paper. Keeping an eye on the weather, I would go out to my workshop (okay, a tiny shed that I cleaned out so my husband could work on his projects but here I am, taking the space over!). I mixed the chemicals from a cyanotype kit (there’s an A formula and a B one) in the dark. I used a tiny lantern to see what I was doing, but was mostly in the dark. Then I would let them dry, and stack and cover (so absolutely no light could touch them prematurely.
When it was sunny (usually the next day) I would continue go back in the dark shed and secure the transparency onto my water color paper that I had prepped the night before. When the transparency was secured, and the right direction, I rushed outside and exposed in full sun for about one to three minutes. Then I rinsed it in cold water, and hung in a dark room to dry.
I had read a blog that exposure needed to be eight minutes and thirty seconds–which sounded very exact so I tried it, but actually there are a lot of variables with cyanotype–time of day, clouds, UV index (I live at 7400 feet!).
The whole process taught be a lot. Mostly, it taught me to be careful. I had to pay attention. Cyanotype was totally unforgiving. Over exposed, I got a dark blue sheet where I could hardly make out a picture. Underexposed the picture was washed out. I think I made around ninety prints before I in the end were only happy with a handful. Initially, I hung prints to dry outside, and that caused the exposure to change. I learned that super cold water helped (I’d add ice, but if the ice touched the print it would stick and ruin it). And even then, there were little mistakes that would ruin the print– like scratching it, getting it dirty, or when I finally mounted on a wood canvas, having uneven glue or something stain it. It was really a fun but really meticulous process. No edit-undos like I’m used to!
In the end, the prints showcase exactly what I was going for: atomic history and nuclear physics in a unique format. These one-of-a-kind pieces showcase a historical nuclear reaction, and are exposed by our giant nuclear reaction in the sky.
You can purchase these original fine art pieces by contacting me directly, thanks!

