8 tips for building your own Patio Table or other Furniture.
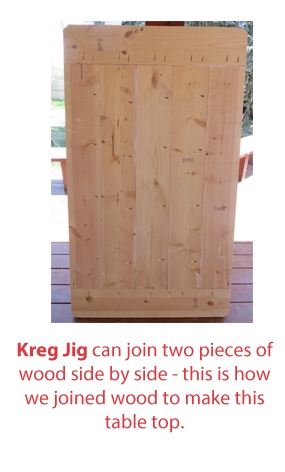
To build your own furniture, check out amazing sites like Ana White and The Design Confidential We built the Pottery-barn Inspired 60 inch Chesapeake Dining Table from Design Confidential. The plans are totally free and awesome. (Even gives a cut list!) Tools we own are a sander, kreg-jig, and miter-saw. I exchanged some design work to have a friend taper the legs with a table saw because frankly I don't want a ton of tools I never use. The Kreg Jig, Sander & Mitersaw we have already used this summer to build a fence for a dog run, a sandbox & 2 tables. Definitely worth the investment. Here's a photo of our lovely table:
Yep, I know, it's a beauty. Just don't look to closely... ;)
Tips!
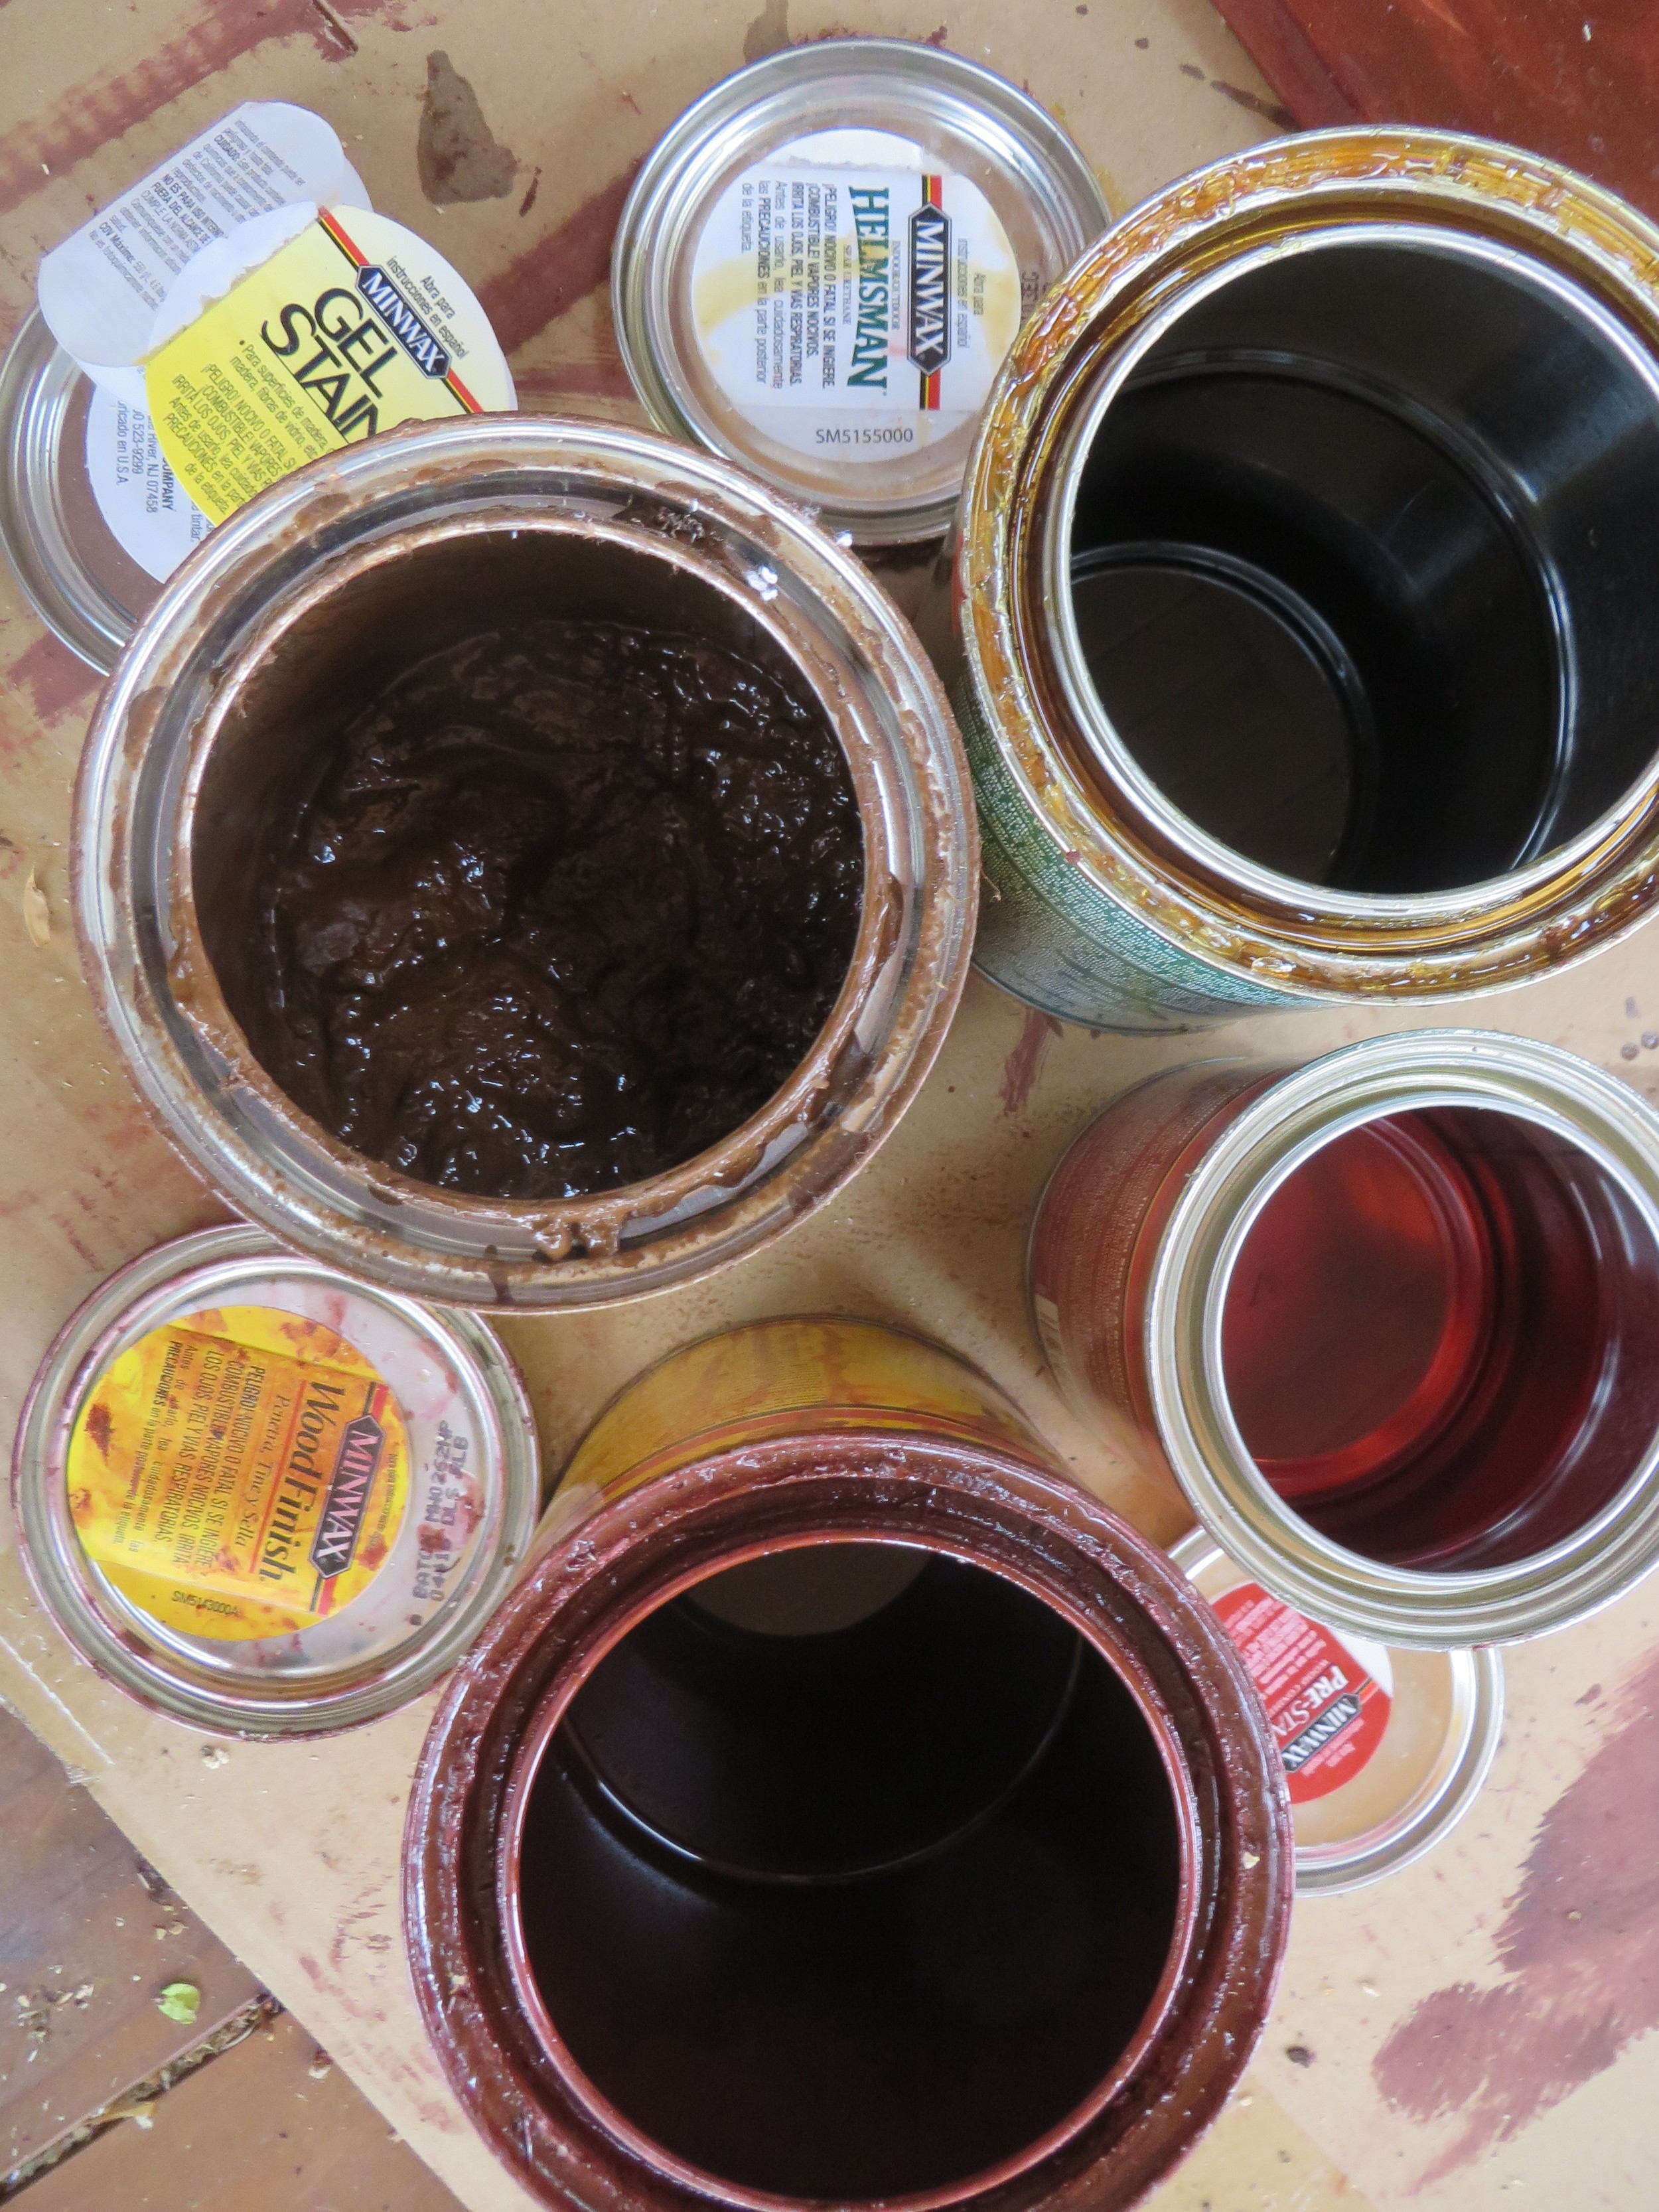
1. COST - Sure, maybe the wood will only cost your $50 to build a $500 table. But, you also have to count in time, tools (yikes!) and finishing products (Wood conditioner, Small can of stain $10, small can of polyurethane $10). I find this palette video pretty comical - sure! your making a table out of free palettes, but this looks like it was done with $2,000 worth of tools.
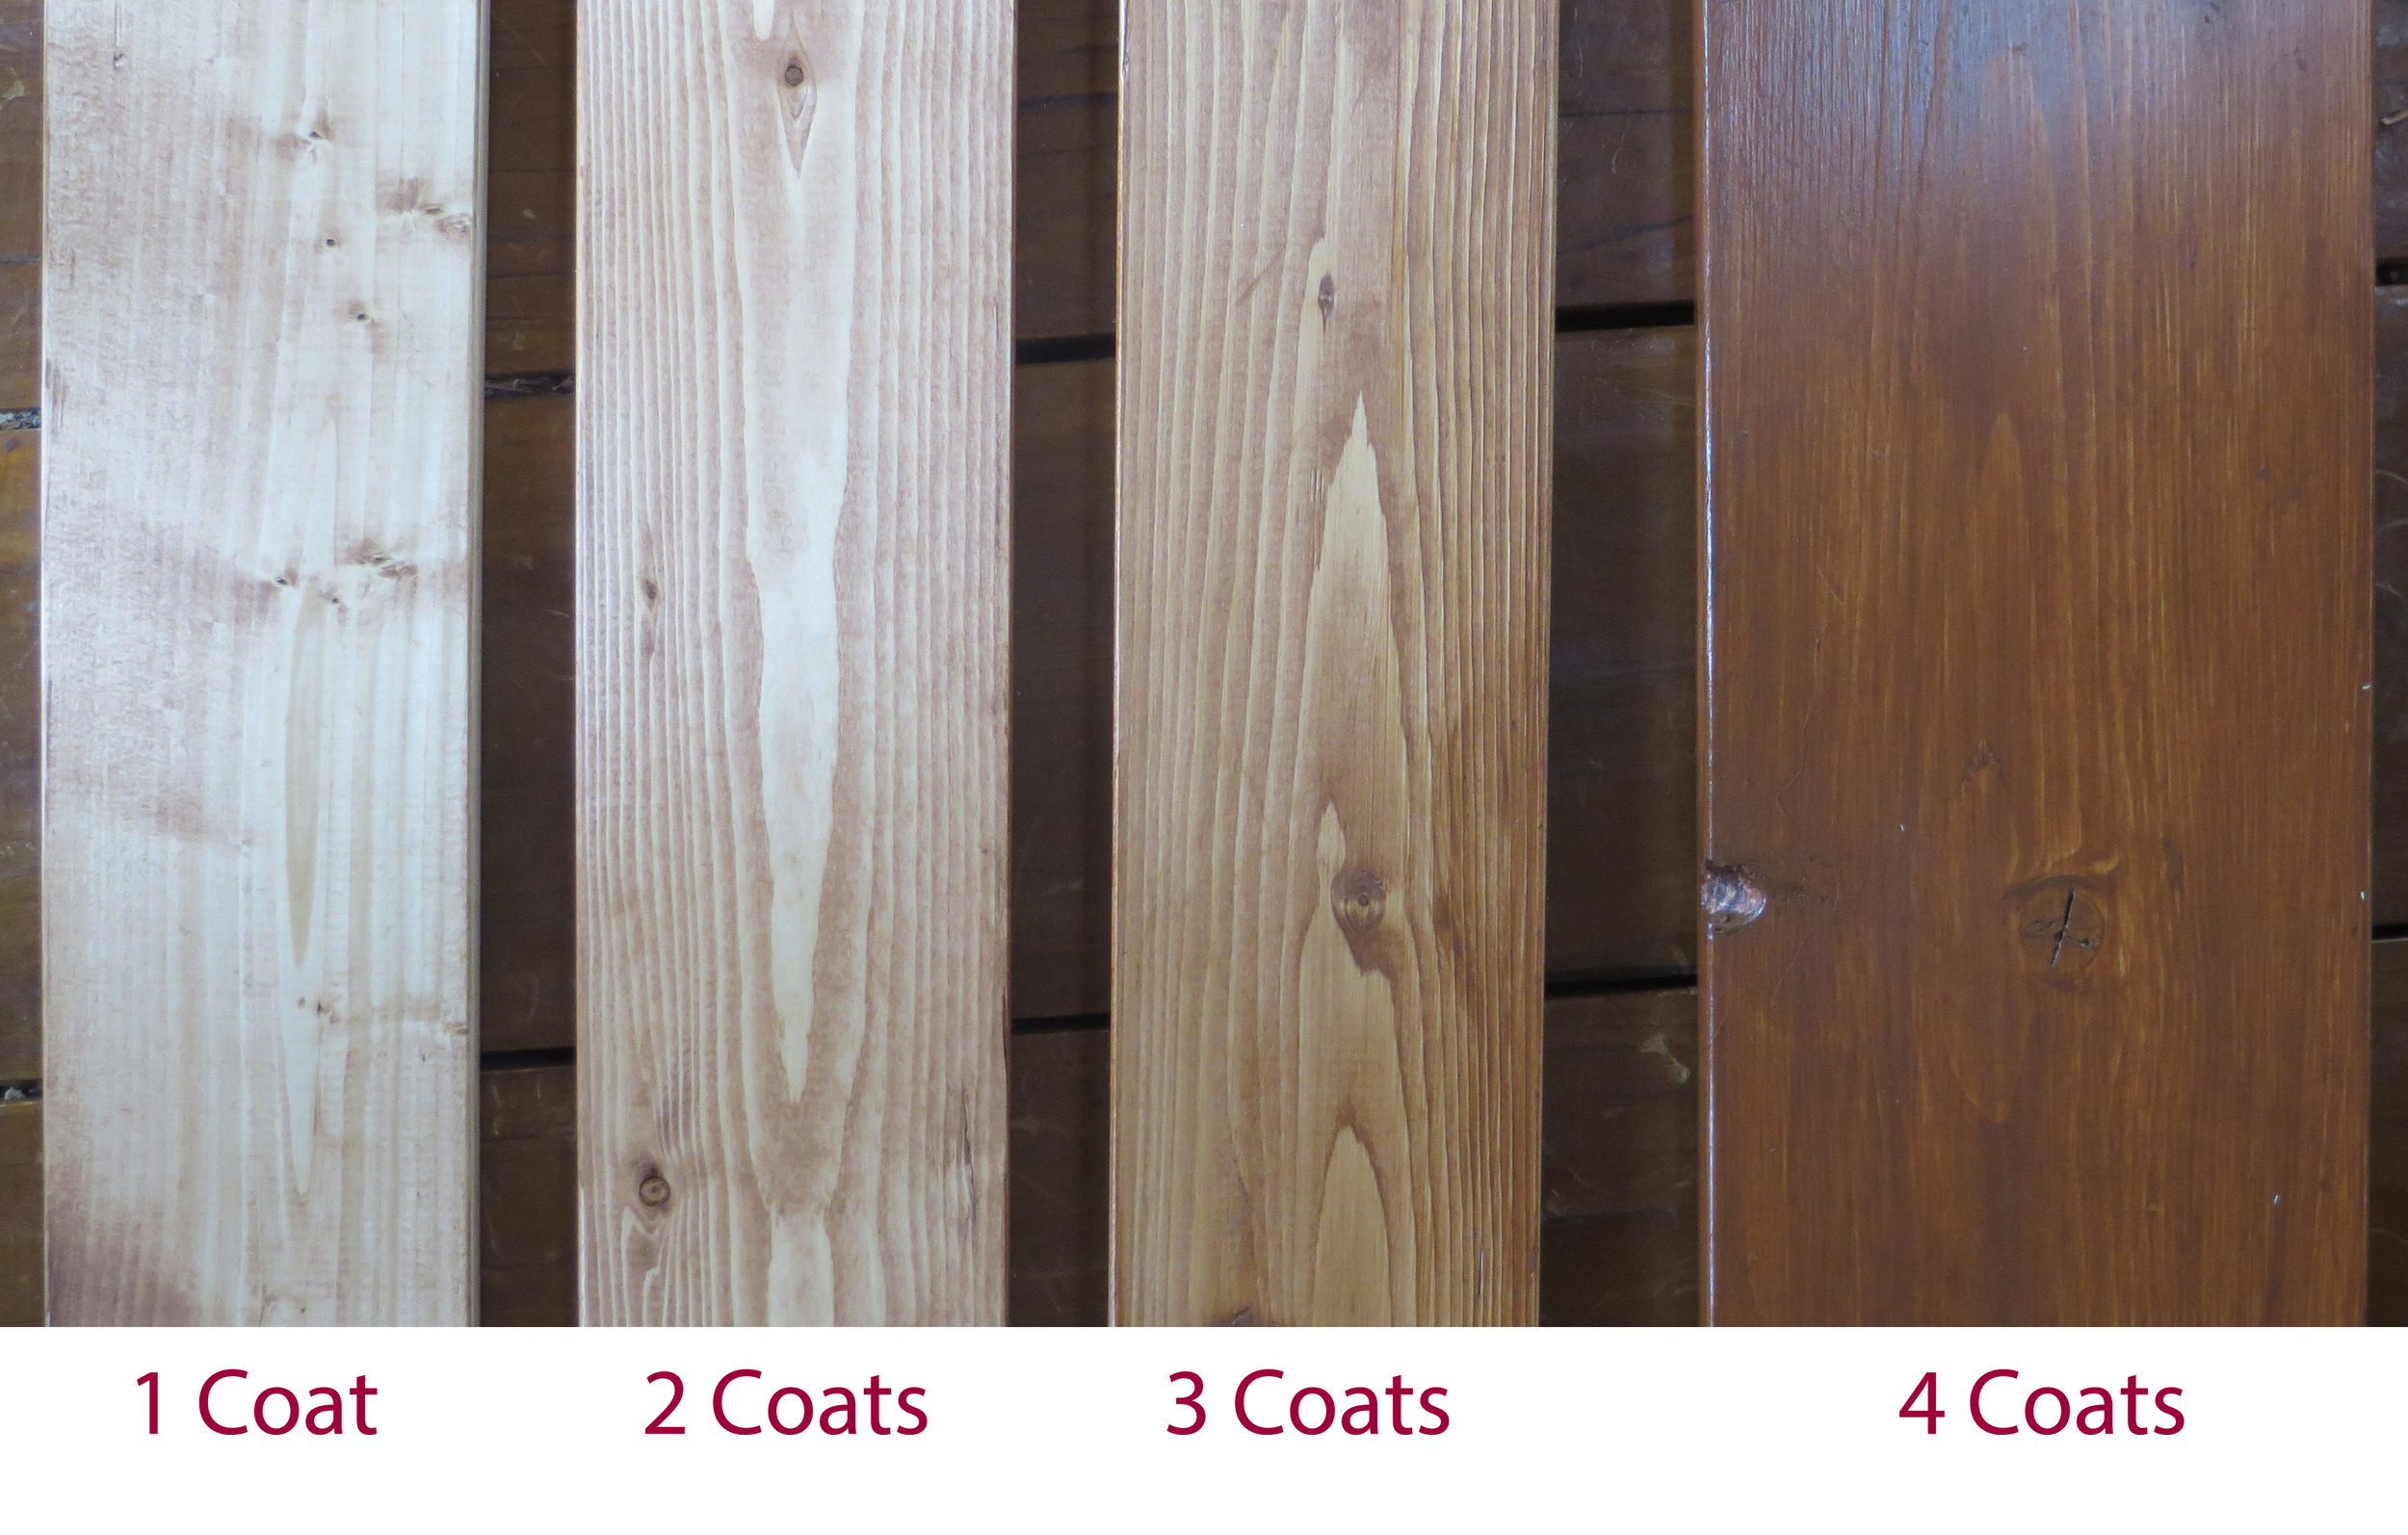
2. TIME - I was amazed at how long this project sat out on our porch. We did four layers of stain plus coated it with Huntsman urethane (for outdoor). It took MONTHS. My advice for figuring out how long a project is going to take is figure out how long you think you can do it in, triple that, and add three weeks. Then, if you have kids that interrupt, add two weeks per each kid. And then make a goal of finishing it before you die. Then, if you do happen to finish it, you will be really excited rather than being stressed out if you don't get it done in your original plan of a weekend.
3. SQUARE AND MEASURE EVERYTHING! (Don't trust your eyes.. ) We had to rebuild our custom table because one leg was an inch higher then the others when we decided to slap it together. We redid it square (the culprit was a super-warped 2 by 4) and it now is pretty solid (without have to cut down all the other legs, which we were pretty tempted to do..)
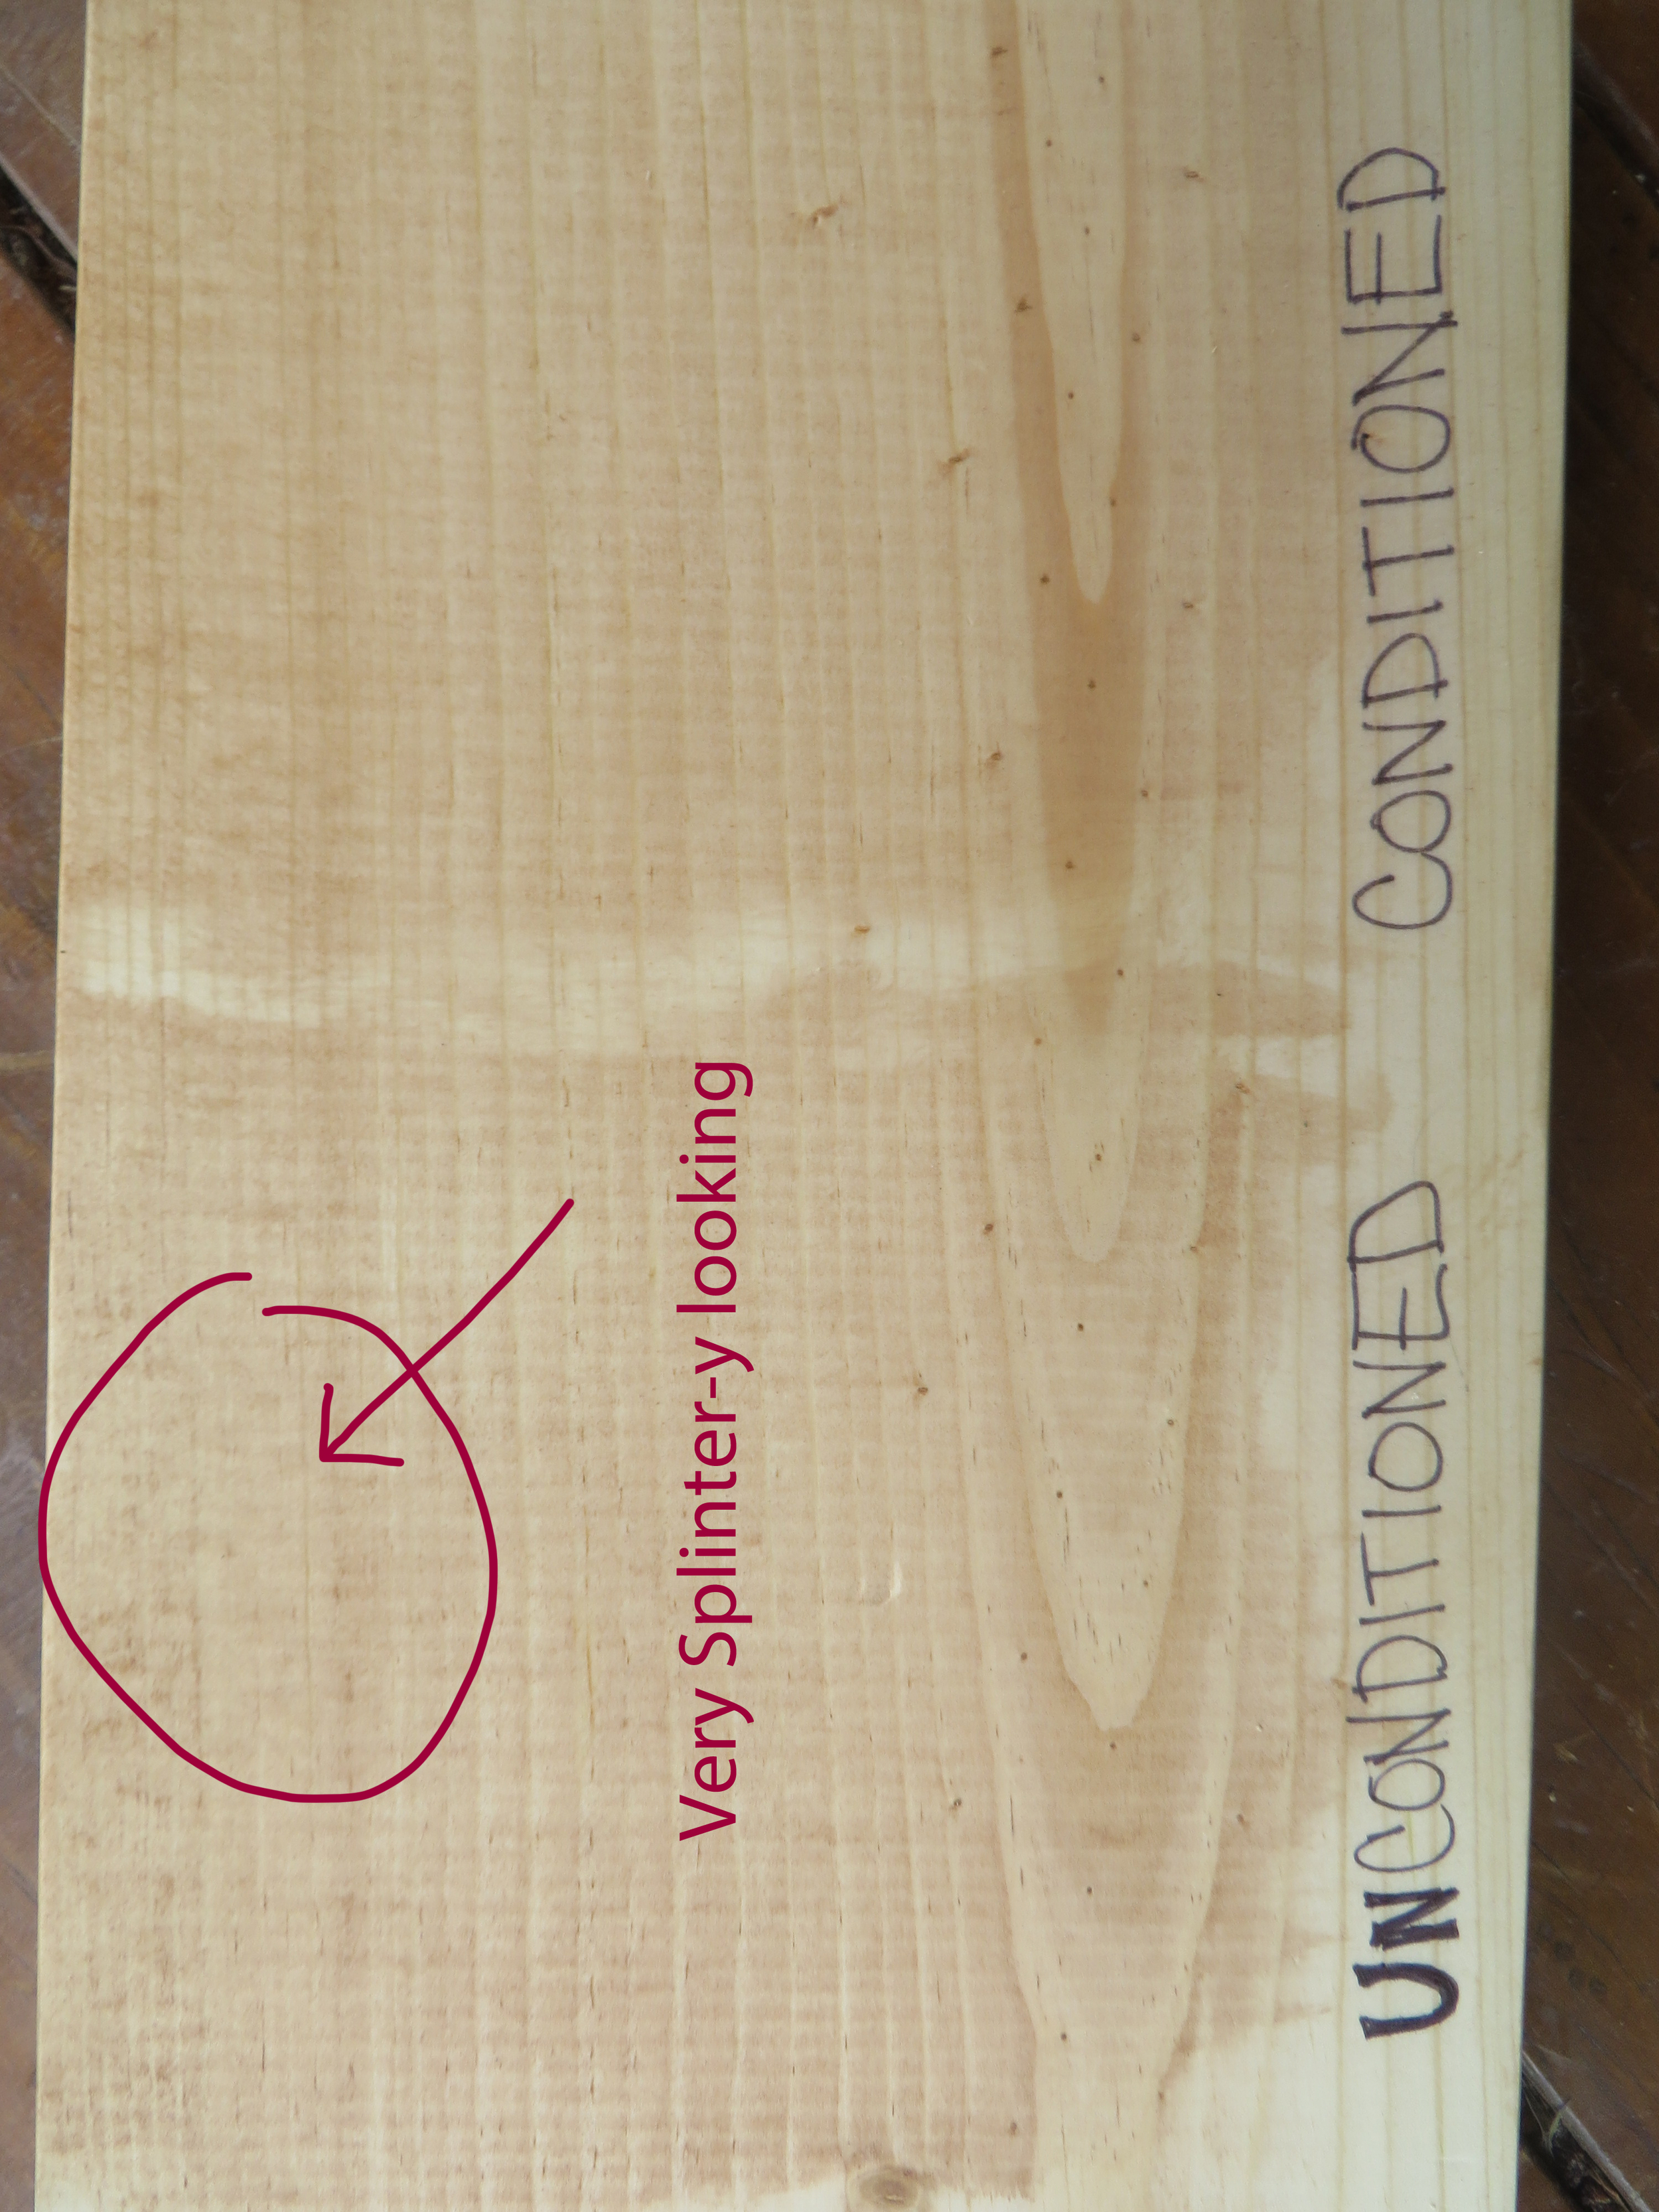
5. FINISH IT WITH FINISH! & use stain conditioner. You might need several coats to get the looks you want. Pre-conditioning your wood will prevent that splintery patchy look.
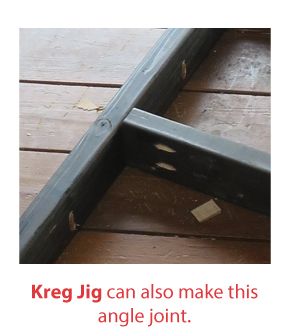
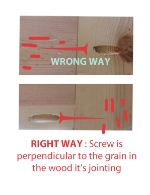
6. KREG JIG (what the jeepers is that?) You can build anything with this joint-making tool. I had no idea what it was, but it seemed like every plan I found used it. It's basically a tool to line up your drill perfectly so that you can drill a hole perfectly for a screw to pull two pieces of wood together at a perfect angle. The you can screw together a joint ( rather then glue or chisel or whatever). You can screw together wood at a ninety degree angle or next to each other.
7. You can use wood glue mixed with wood shaving as wood filler. I tried this and it worked quite well just be sure to sand off all excess glue as stain won't absorb very well.
8. Obviously,.. BE SAFE! Read all instructions, don't operate anything you are not comfortable with, maybe even take a wood-shop class. Fingers don't grow back. Also, don't be doing this if it stresses you out or if you are in a situation where you are easily distracted or not paying attention. This should be fun! If it aint, then go buy one or get something on freecycle. Again, let's not lose fingers now.
So that's it for now. I hope some of those images help you prepare a bit. I am far from being an expert, but those sites I mentioned before (Ana White and The Design Confidential) have ton of information and advice as well as examples. Good luck, be safe & have fun! I would love to hear comments on some of this stuff (as it is quite new to me) or hear about your home projects. Thanks for reading!

