Designing anniversary and My Little Pony cakes

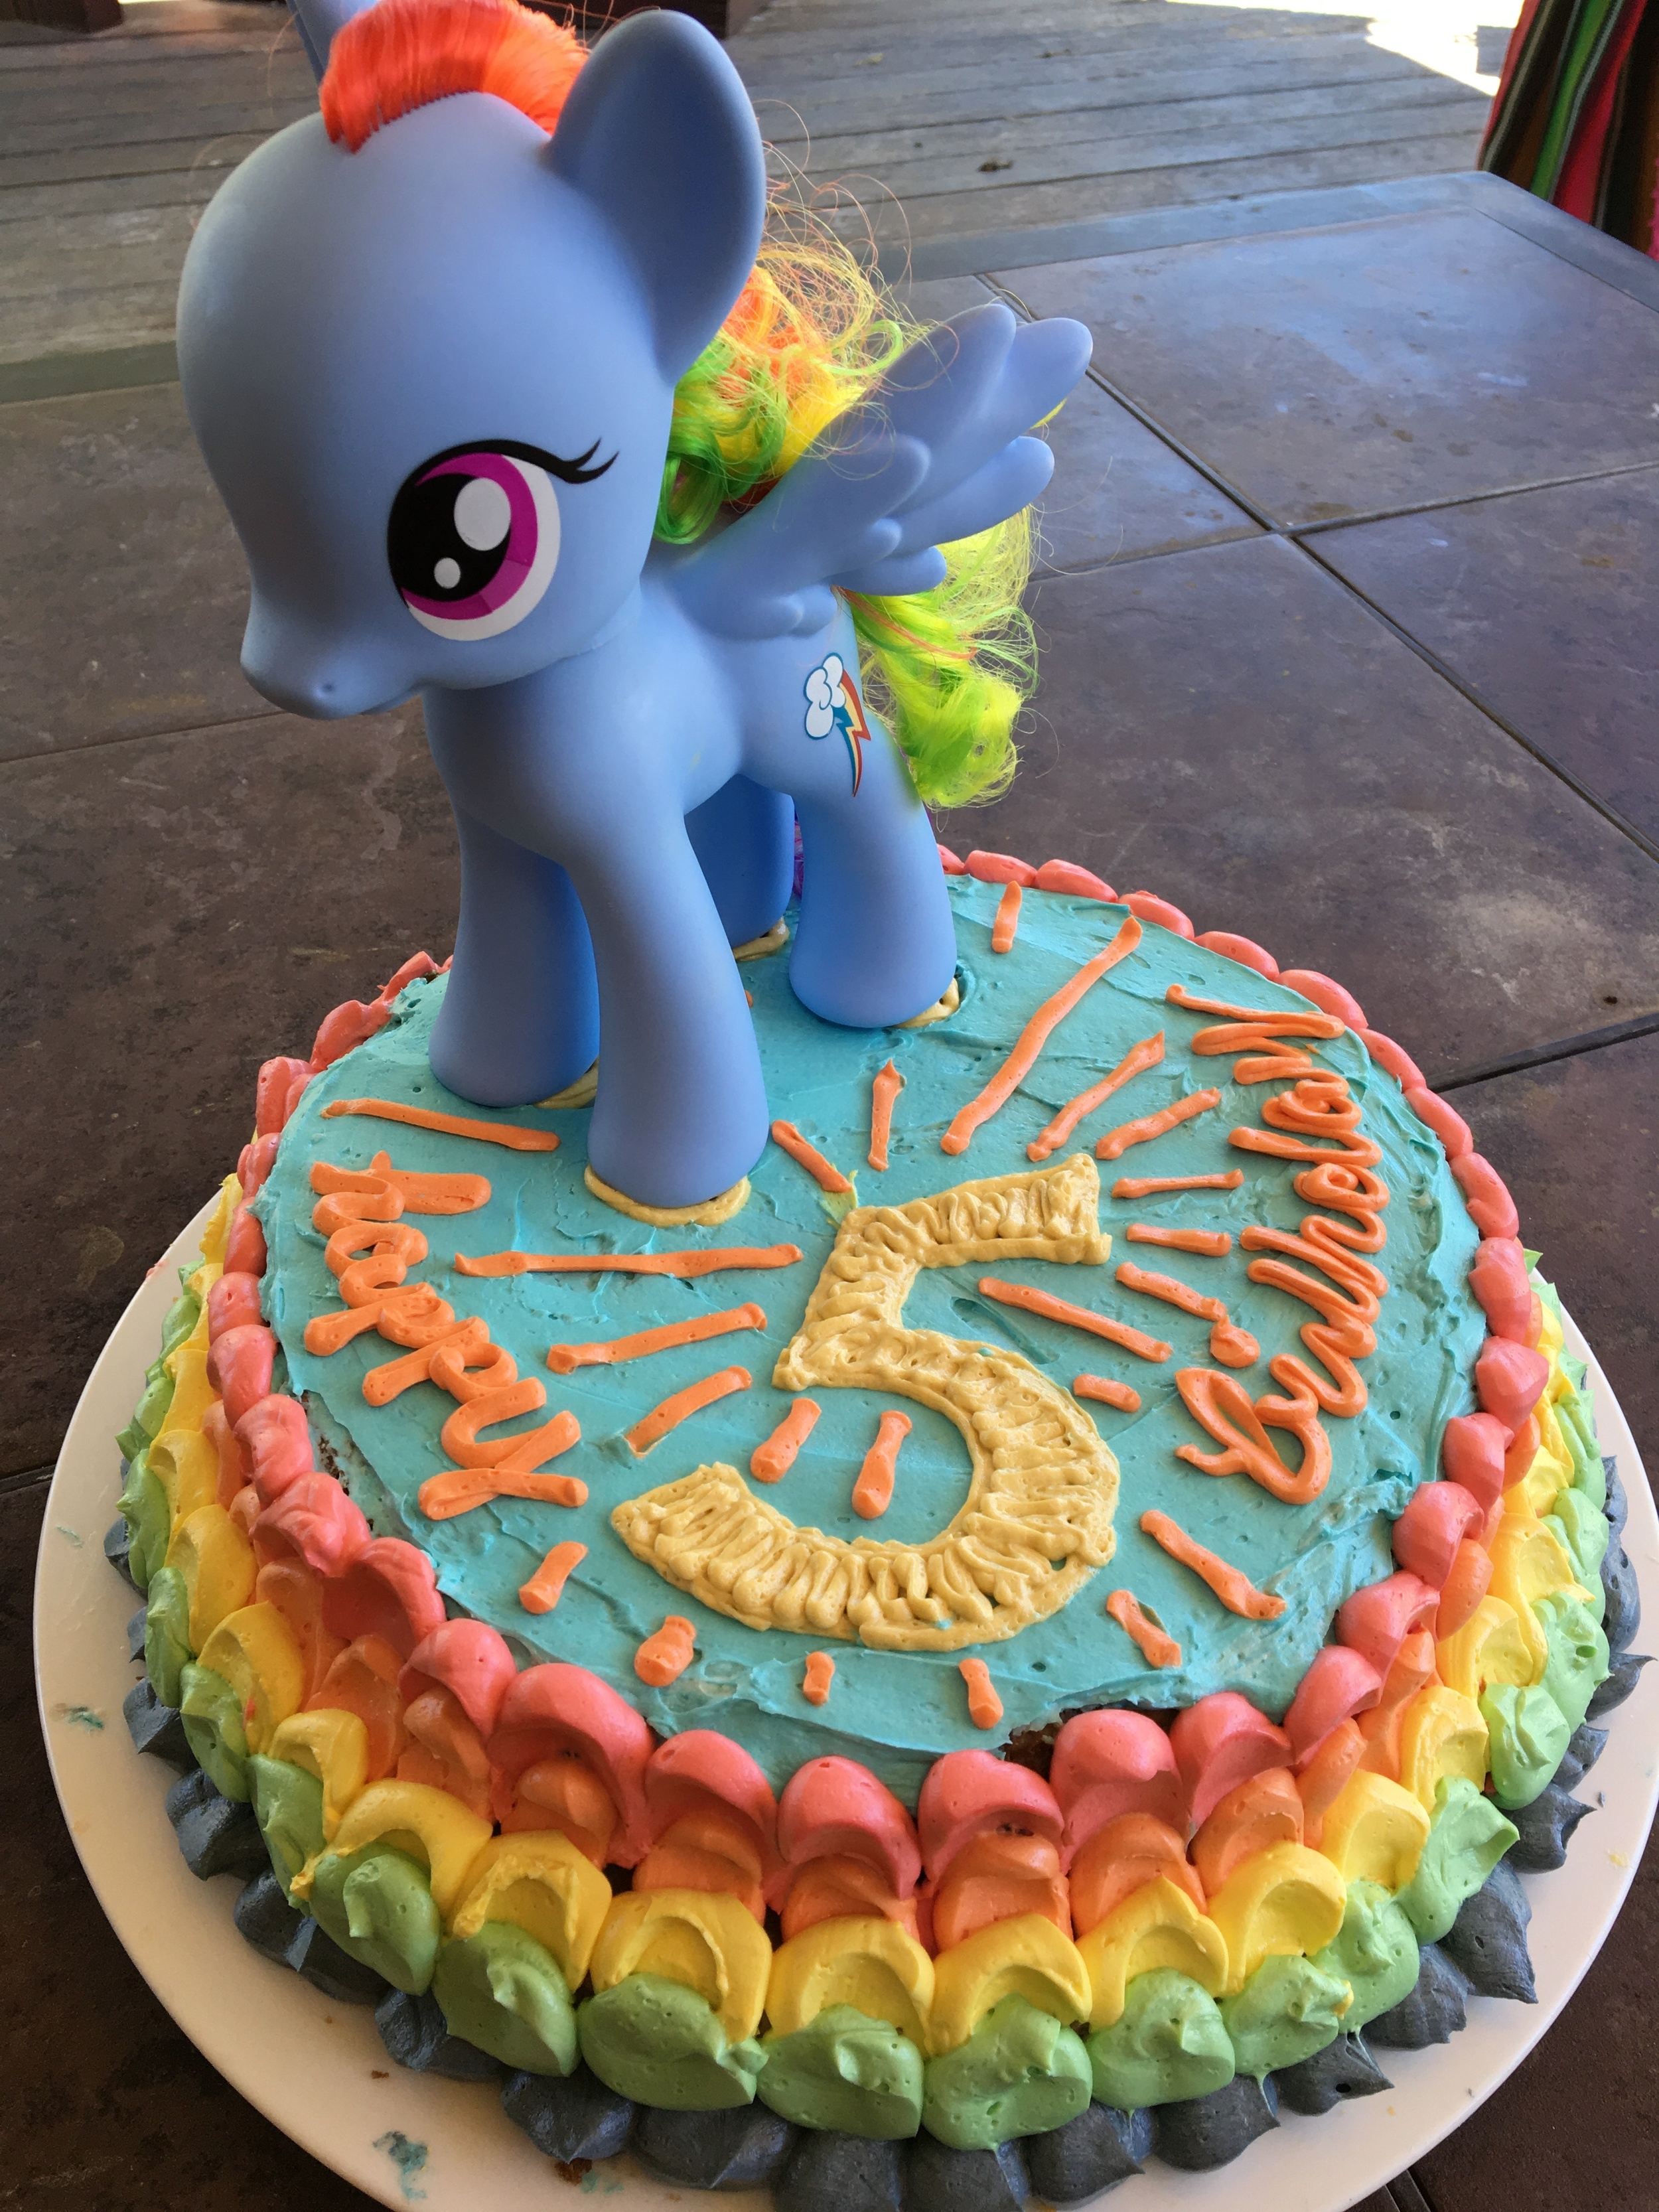
Here are the cakes I recently designed and created. My sister baked the cake for the 50th Anniversary ones, and with the leftover we made the my little point cake for my niece's birthday - and I did the frosting, filling and decorating. My advice for designing cake is be sure you can visualize it first. If it's a big job, sketch it all out first. I won't go into the details, but I'm posting some of my favorite recipes this summer for cakes. I'll also post my favorite summer dessert recipes. I'm basically just making a list of favs... before I forget them. :P
Enjoy!
Super Easy Vanilla Buttercream (used in both cakes)
Soften 4 sticks butter in microwave until soft (maybe 10 - 20 seconds) but not melted at all. Put in mixer at medium speed until creamed (about a minute). Change to low speed and 7 cups powdered sugar on at a time until incorporated. Add 2 tablespoons vanilla, 1/4 salt and 4 tablespoons milk. Mix on medium-high for three minutes. Voila!
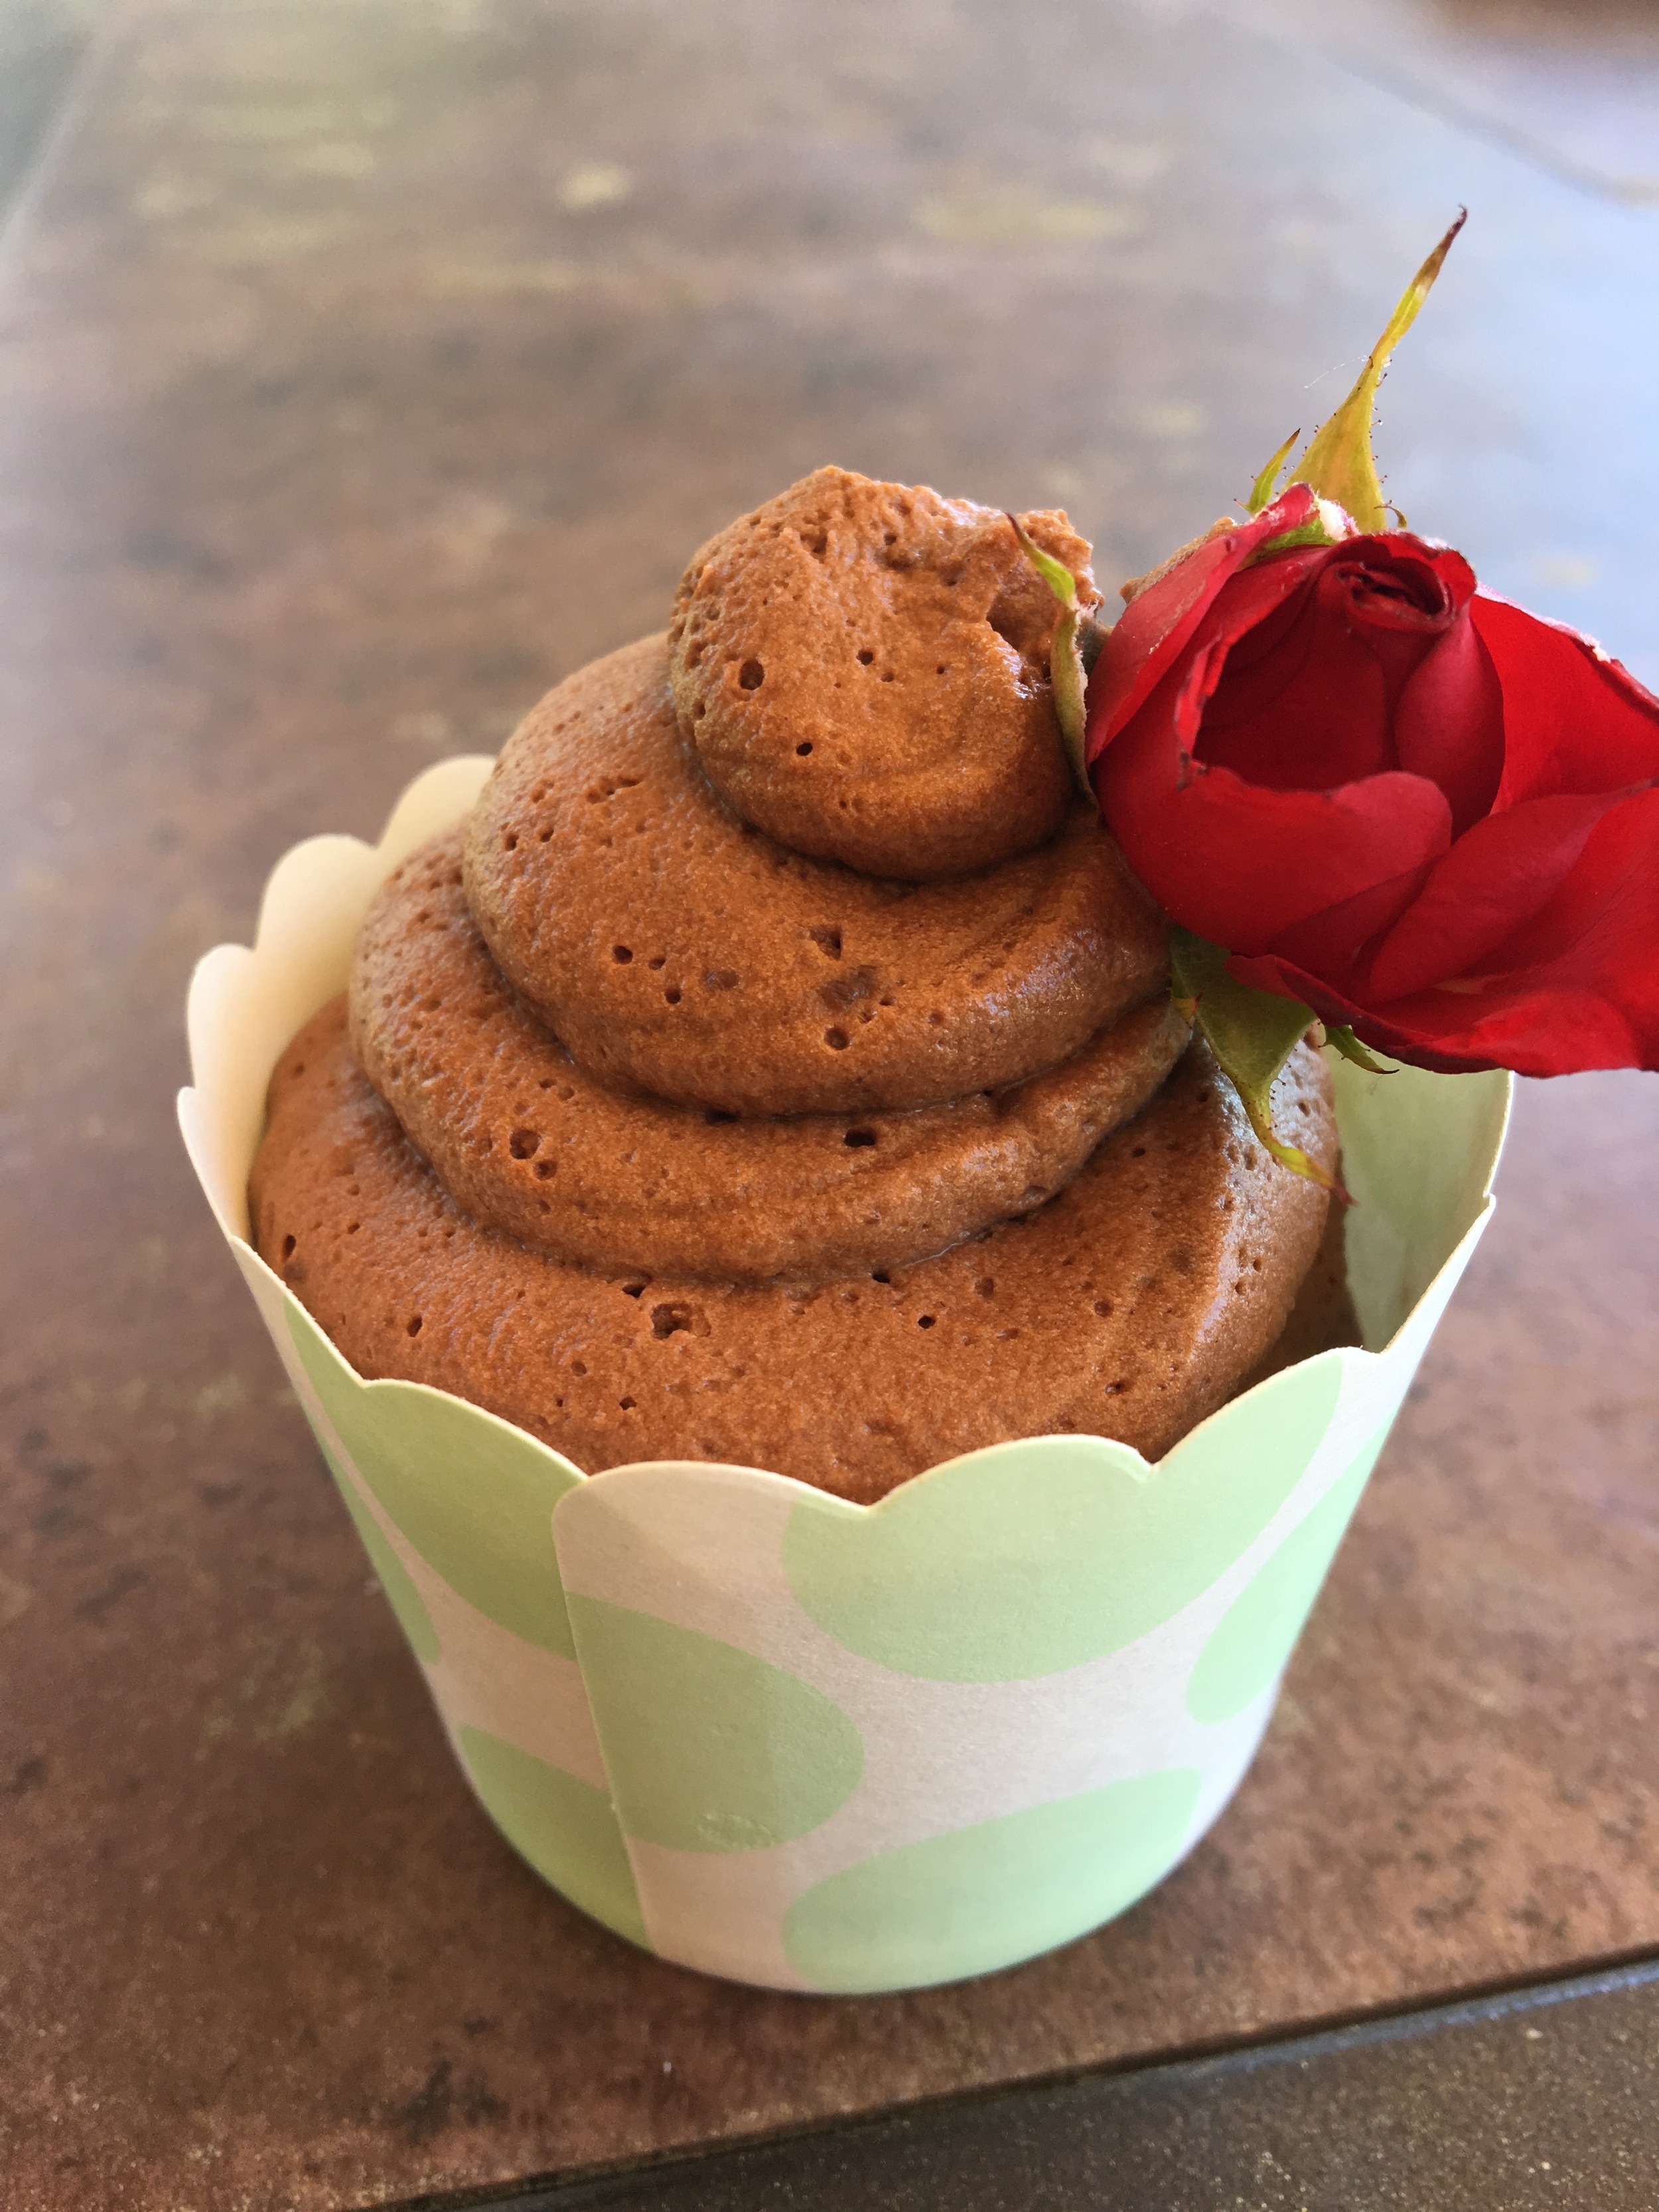
Super Easy Chocolate Mousse
- 1/3 cup hot water
- 1 cups semi-sweet chocolate chips
- 1.5 cups heavy cream
- 2 Tbsp sugar
Add Hot water to chocolate chips and melt in microwave for 30 seconds (stir) and then another thirty seconds. Repeat until chocolate is almost melted (don't over heat or won't work). Meanwhile Whip the cream and add sugar. Fold in chocolate. Chill.
Vanilla Lemon Macarons
Filling:
In mixing bowl crewm 1/4 softened butter + 1/4 cup cream cheese. Then add lemon juice to taste (maybe 1 tbs) + add powdered sugar until consistency of frosting.
Cookies:
- 2 egg whites
- 1/4 teaspoon vinilla
- 1/4 teaspoon cream of tartar
- 1/8 teaspoon salt
- 1/2 cup sugar
- 1 tablespoon cornstarch
(This below recipe is copied from: http://www.recipe.com/lemon-meringue-sandwich-cookies/ )
In a medium bowl allow egg whites to stand at room temperature for 30 minutes. Preheat oven to 300 degrees F. Line two large cookie sheets with parchment paper; set aside.
2.
Add vanilla, cream of tartar, and salt to egg whites. Beat with an electric mixer on medium to high speed until soft peaks form (tips curl). In a small bowl combine sugar and cornstarch. Gradually add the sugar mixture to the egg white mixture, about 1 tablespoon at a time, beating on high speed until stiff peaks form (tips stand straight). Fold in lemon peel.
3.
Transfer egg white mixture to a disposable piping bag fitted with a large round tip. Pipe 1- 1/2-inch circles that are between 1/4 and 1/2 inch thick onto the prepared cookie sheets, leaving 1 inch between circles.
4.
Place cookie sheets on separate oven racks; bake for 10 minutes. Turn off oven; let cookies dry in oven with door closed for 1 hour. Carefully lift cookies off parchment paper. Transfer to wire racks; let stand just until cookies are cool. (The cookies can quickly become tacky, especially if the weather is humid. To prevent this, store unfilled cookies in an airtight container at room temperature for up to 3 days.)
5.
Just before serving, placeLemon Filling in a piping bag fitted with a large round tip or in a resealable plastic bag with a corner snipped off. Pipe 1 teaspoon filling onto the flat side of half the cooled cookies. Top with remaining cookies, flat sides down, to make sandwich cookies. Makes about 34 sandwich cookies (2 sandwich cookies each).
Summer Rum and Berry Trifle
Stack Vegan Vanilla Cake (see recipe below) with whip cream, fresh berries and spiced rum.
Extra info : The vegan cake is denser so it soaks up the rum without getting mushy - I discovered this when I didn't have eggs one day... I actually used regular milk... and cream on top so this is not vegan!! And I also had loads of spiced rum due to Christmas cocktail party leftovers... This turned out so good though I've already made it again!
Cake modified from http://lovingitvegan.com/vegan-vanilla-cake/
INGREDIENTS
- 1 and ¾ cups (220g) All-Purpose Flour
- 1 cup (200g) Sugar
- 1 tsp Baking Soda
- ½ tsp Salt
- 1 cup (240ml) Milk (or non dairy if ya wanna go vegan!)
- 2 tsp (10ml) Vanilla Extract
- ⅓ cup (80ml) Olive Oil
- 1 Tbsp (15ml) White Vinegar
- Preheat the oven to 350 degrees Fahrenheit (180 degrees celsius)
- Sift the flour into a mixing bowl.
- Add the sugar, baking soda and salt and mix together.
- Add the soy milk, vanilla, olive oil and vinegar and whisk it in.
- Grease two 7 inch round cake tins with coconut oil and divide the mixture evenly between them.
- Bake for 30 minutes.
- Remove from the oven and using a toothpick, insert into the center of the cake. If it comes out clean then your cake is done.
- Move to a cooling rack to cool completely.

