Quick Tips on Professional Looking Photos: Using soft light
As a photoshop fanatic- I used to always just take photos with the idea that I could fix the lighting later - THIS IS FALSE! You can do a bit in photoshop, but you NEED nice lighting! Nice lighting is from either : a really fancy professional lighting kit (your regular ol flash is going to might just wash everything out) for you camera OR NATURAL light! That's right, gobs, and gobs of this come for free, each day from the sun. The problem is that direct sunlight is really intense and with the intense bright light come intense black shadows in your pictures. So, to utilize this beautiful light, you need it filtered. Here's a few ways to do just that:
1. SUNSET/SUNRISE Take at either right before the sun rises or right after the sun goes down for that beautiful, golden soft light. I found if you take a photo while the sun is still low in the sky you get really, really long black shadows.
2. NEXT TO A WINDOW Take the photo near a window with ample light through. Have your subject facing the light (don't have the light behind them) so it reflects on their face.

Frankly both of these photos are pretty cute - but you can tell major differences in the quality of the photo. Flashes bring out everything - from alien eyes to shiny drool. Natural light gives that 'porcelain skin' look and brighter eyes.
3. IN THE SHADE - yep, pull the person in the shade or covered area so light comes through the sides and brightens them up. If the shade is tree, make sure there isn't any light spots shining through branches.
Covered porches are such an ideal spot for a family photo. Before an event (such as a wedding or reunion) scope the area for potential places (big windows, covered areas) and maybe plan some photos around there. Sounds like overkill - but especially when photographing distracted family including kiddos - you might only get one chance for a great photo. And, you should enjoy the event and not being trying to take perfect shot-in-the-dark (no pun intended) photos everywhere!
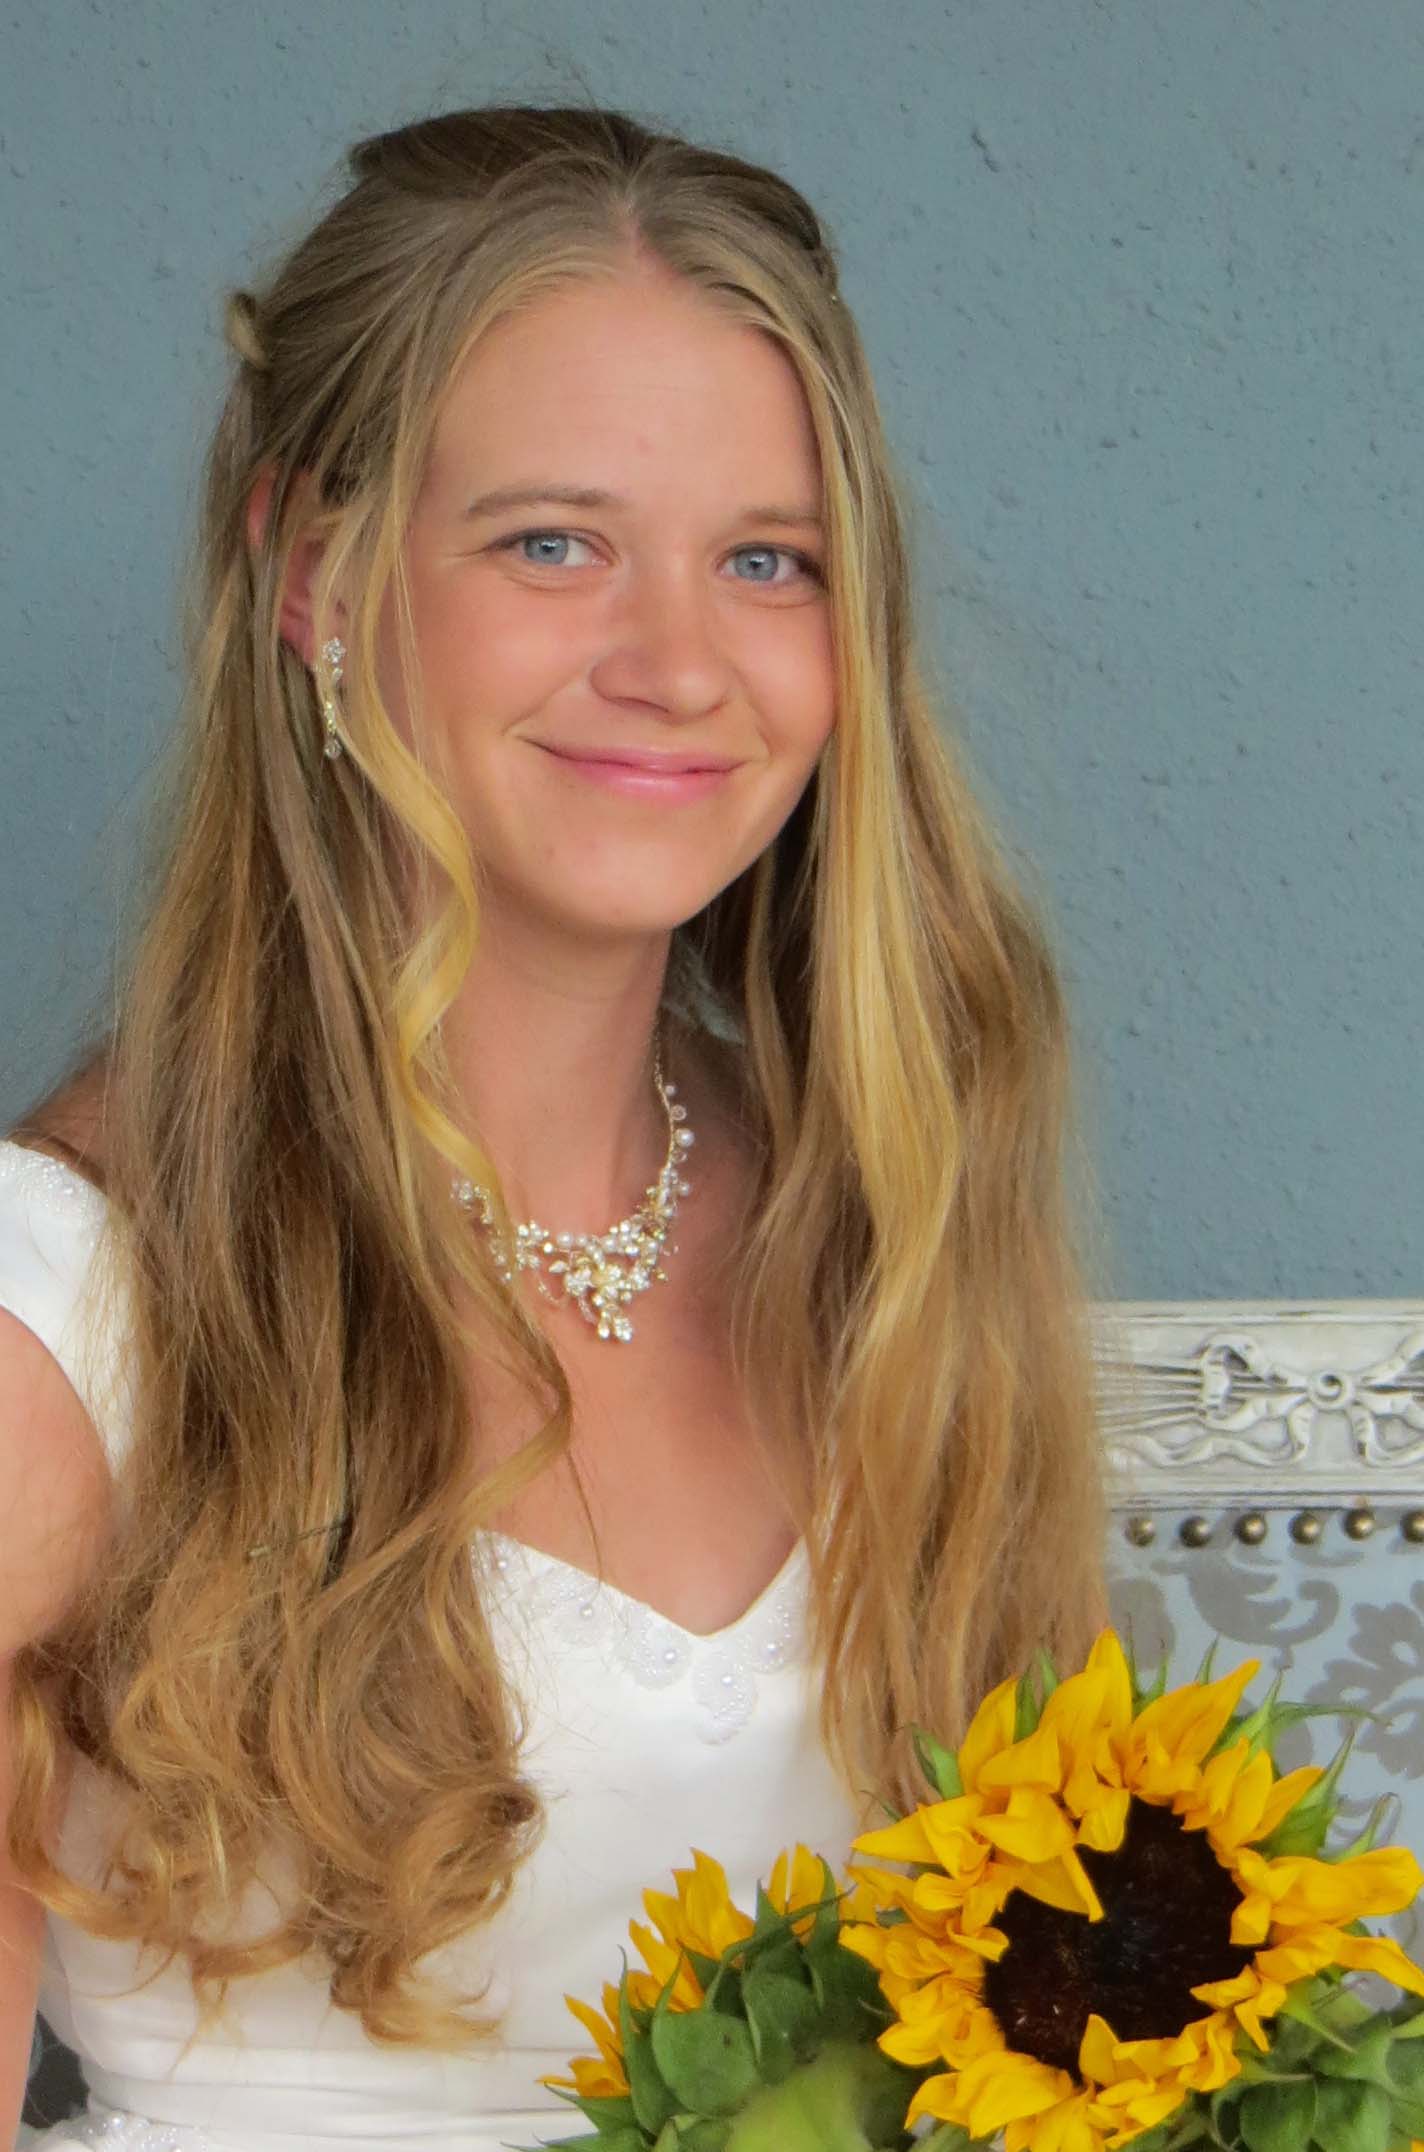
This is on a covered (shaded) porch. Again, more light brightening the eyes, and lovely skin tones.
4. WAIT FOR OVER CAST - Clouded skies make for lovely lighting. My non-professional wedding photos are awesome because it was overcast that day. Brides should not complain about rain on their wedding day!

Left side - sunny & dark shawdows kinda ruin this shot. Later on, after monsoon clouds rolled in, the forest seemed to glow with lovely light.
So, that's a few quick tips. If you taking a portrait photo, you get better skin tones and natural color - faces aren't ten shades lighter as with a flash or bright sunlight. Eyes look brighter, and you aren't getting really intense shadows or highlights. If you're taking a landscape, the less contrast you see is going to register what you actually see in real life (you're not seeing shadows as contrasty black spots in real life, although a photo registers them like that - if that makes any sense.)
So, turn off that flash & happy photo taking!