Chocolate Lace Wrapped Pumpkin Cheese Cake and Pumpkin Shaped Bundt Cake

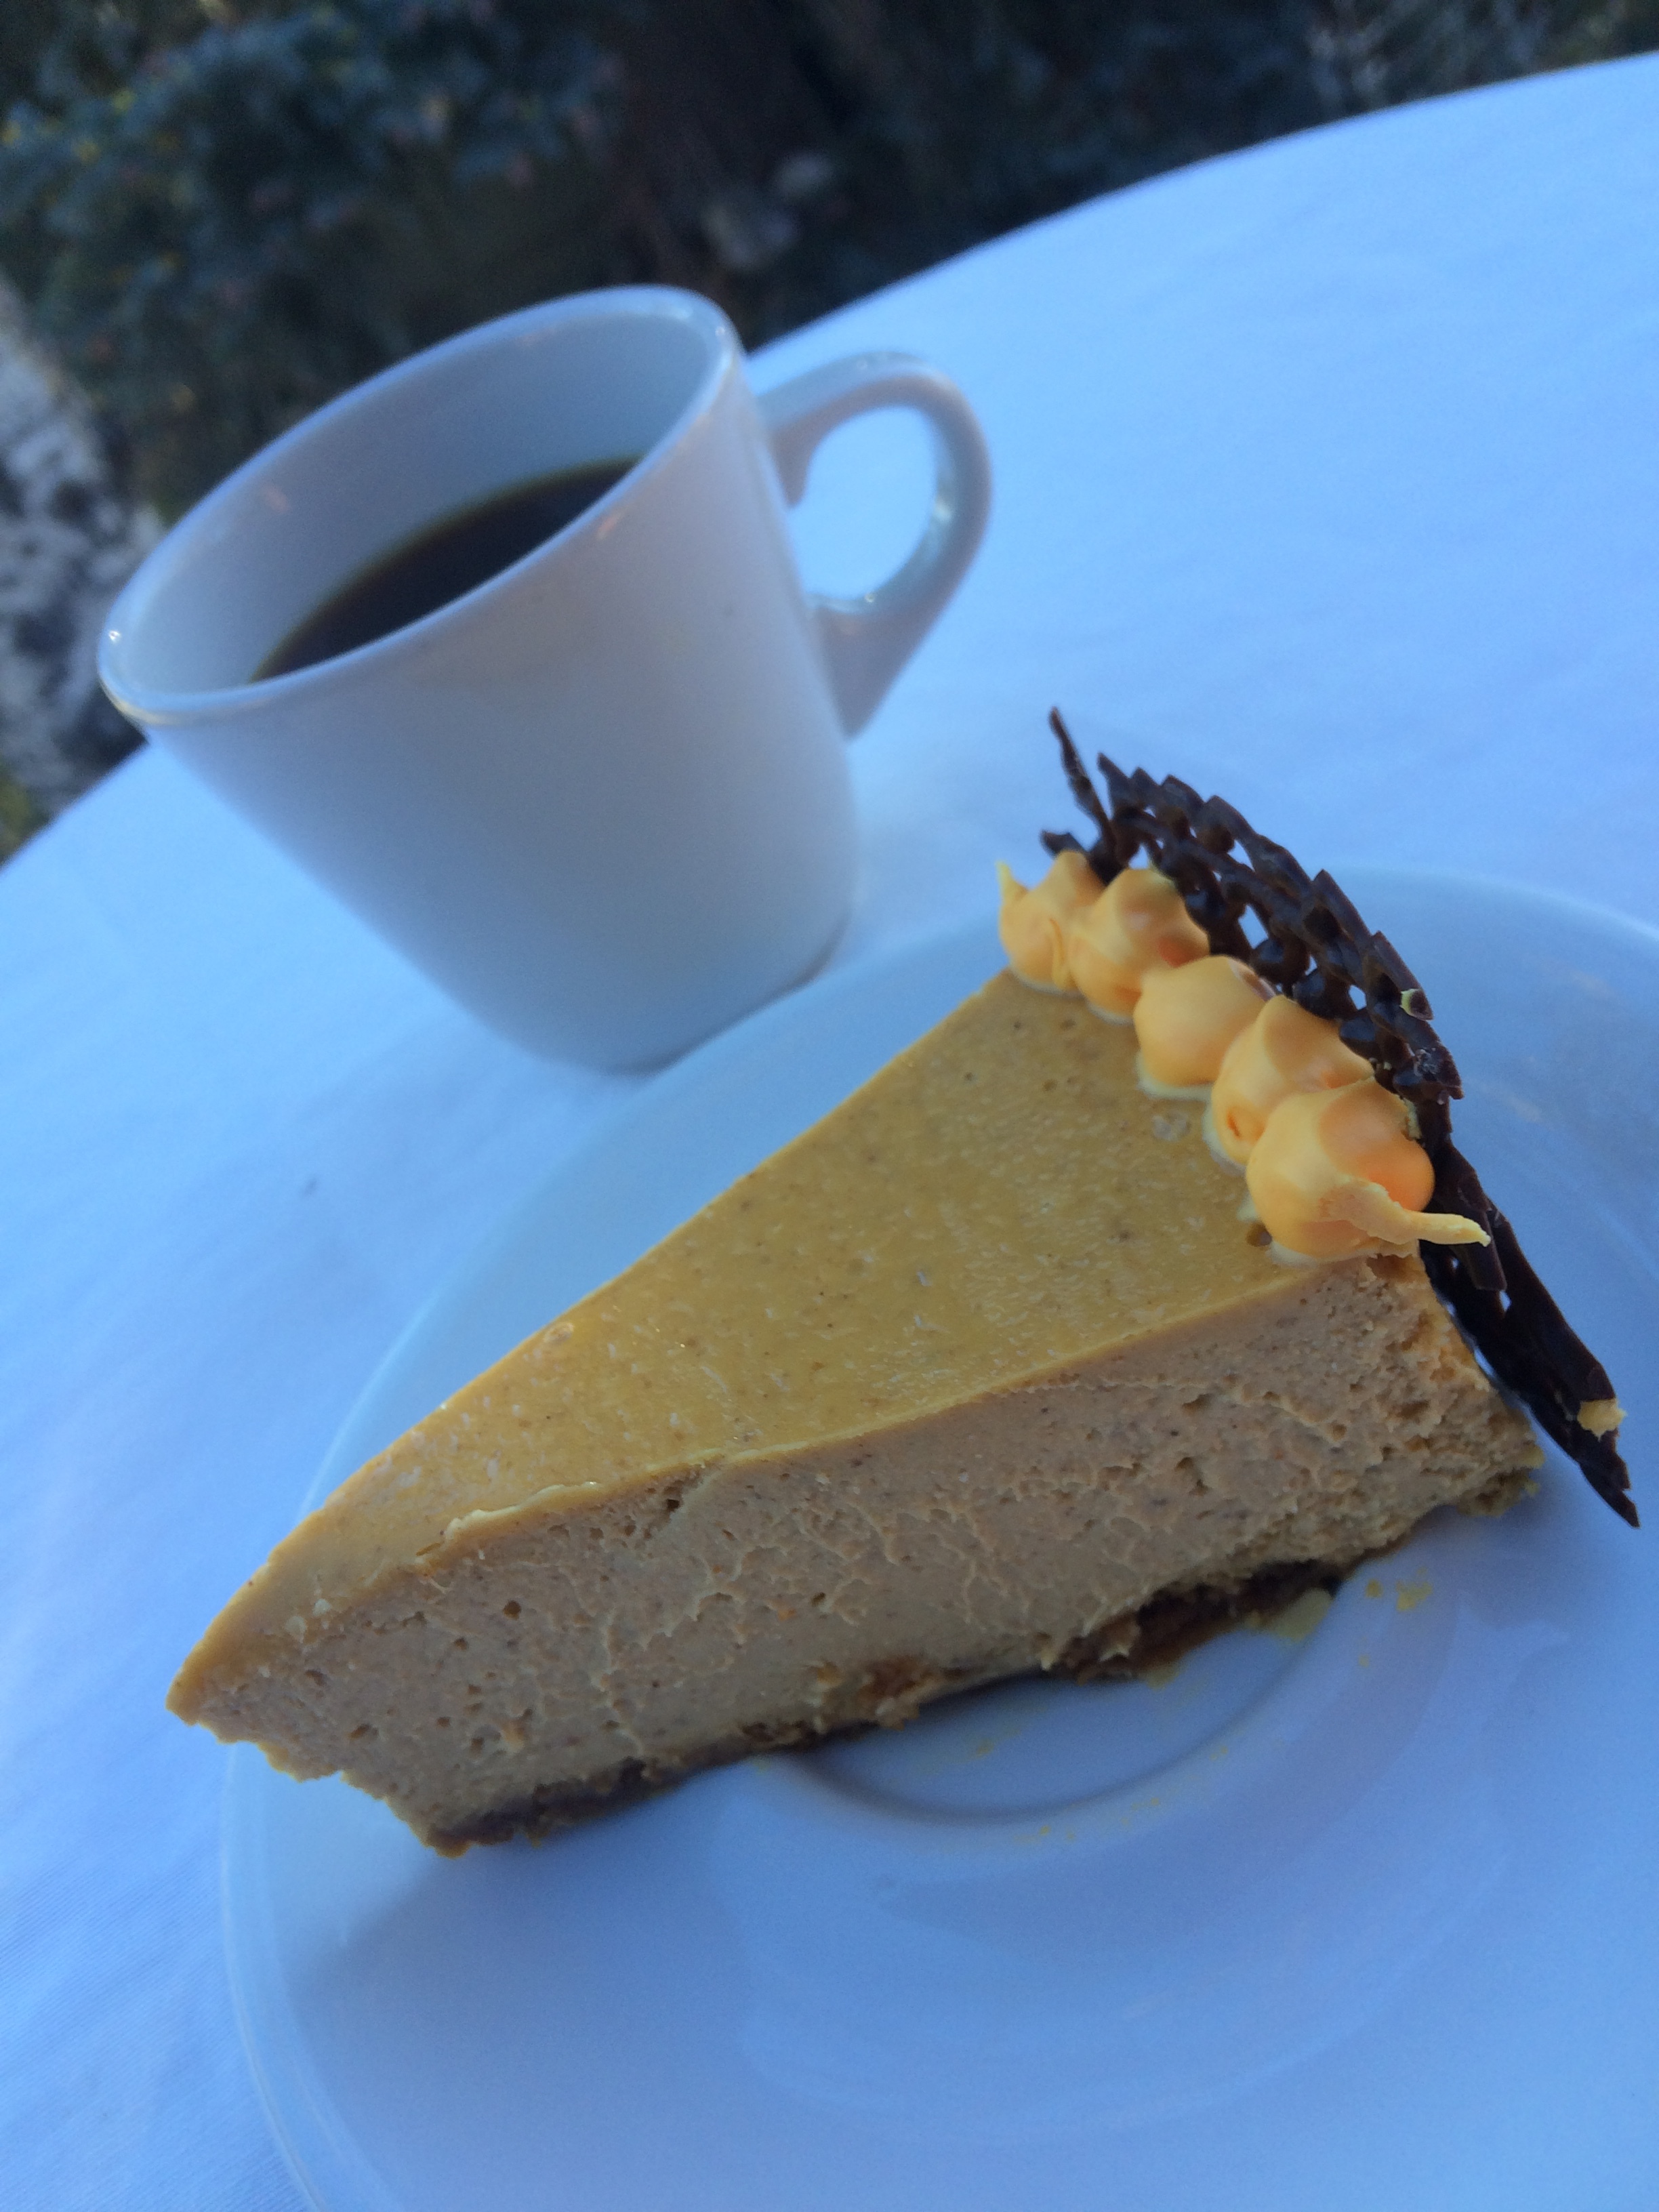
Chocolate Lace Pumpkin Cheesecake
A year or so ago I did a blog displaying aChocolate Lace Wrap I made using Julia Ushers tutorial - it was super minimal, and I realized people were searching for a template. So - as your thanksgiving present - I provided free for you a template to create your own pumpkin cheesecake chocolate lace wrapped thanksgiving indulgence of love. Your welcome.
What you need:
- Lace Pattern (Do not fit to page when printing)
- A nine inch pumpkin cheesecake (I created this one because of the nice flat top.)
- Godiva Chocolate melts or Chocolate chips
- Parchment Paper
- A long Board
- Gallon size plastic baggies
- Scissors
1. Cut out patter and tape together. Tape together to form a long strip, anddown to a long board (cardboard will work, I used a mini ironing board.) Place parchment paper on top - but have the bottom edge of parchment paper line just below the bottom edge of the pattern.
2. Melt chocolate in microwave according to directions (30 seconds, stir, repeat until you can stir the lumps out. Usually takes less then a minute and half). Spoon into plastic bag. Snip of a TINY bit of the edge so you can pipe a thin line out. Trace the pattern.
3. When finished, as soon as none of the chocolate is runny (but NOT hard!) wrap around the cake. Very carefully press it against the cake and the end edges together. You might have to use a little melted chocolate as glue to make those edges touch and stick.
5. Refrigerate until chocolate is hard. CAREFULLY move to table. The lace is very fragile! But once everyone sees your beautiful dessert - cut it open and enjoy!

Pumpkin Shaped Cake made with Bundt Cakes with homemade pulled sugar stem
What you need:
- Two bundt cakes, cooled
- Two cans of orange frosting
- Luster dust (makes it shiny/can get at hobby lobby, online, cake shop...) and sprinkles
- Red/Yellow Food coloring if you want to shade some of the frosting
-2cup sugar
- 2/3 Cup corn syrup (I use light corn syrup as it won't mess up the color)
- 4 tablespoons H20
- Few drops of food coloring (red in this case) and flavoring if you want it (cherry in this case)
- Thick Gloves (or several layers of thin ones
- Silpat or Parchment paper

Place both bundt cakes upside down. Using a bread knife, level the flat edges and save the extra cake. Frost the top of one bundt cake (usually the bottom) and place the other one on top to create a pumpkin shape. Use the excess cake from leveling to fill the center. Frost the cake. Create thick lines of frosting down the edges as in picture to create a pumpkin look. Add a bit of red to some of the frosting to add shading or different oranges colors to create a more organic look.
PULLED SUGAR CAN BE VERY HOT AND DANGEROUS - FIRST WATCH THIS VIDEO TO GET AN IDEA OF IT AND BE CAREFUL! Put sugar, corn syrup, water in pot and boil for ten minutes brushing edges with water until its starts turning gold. Poor CAREFULLY on silpat/parchment paper - allow to cool a bit. WEARING GLOVES, start pulling up edges. Add a bit of die Fold on itself, and gradually, once cool enough to pull up without sticking to your gloves, pull it up, fold on itself, pull and repeat until shiny. Once its cooled to the point where you can form it (within about a minute) twist a large chunk into a 5 inch stem shape. Twist smaller parts into vines. Cool completely.
Press stem into center of cake (like a candle). Add whatever vine like pieces around. Finish off with luster dust.
Hope you enjoyed this blog -- Enjoy!