Magical Princess Birthday Party Ideas

Party Disclaimer: I love having parties. The best part? Getting ready for them. My main advice is that if you ain't having fun, then don't do it! Having a party can be super stressful if you don't plan ahead and if you are trying to create a bunch of crap you saw on Pinterest that you're not really excited about. IF you are excited about the crap you saw in Pinterest, then do it! But most importantly have fun. 

Choose 2 or 3 "projects" to do to make the party extra special. For this Frozen party, I chose to do awesome-photoshopped birthday invite of my girls as princesses, an Elsa Barbie cake, and an Olaf piñata. Here's how:

1. Photoshopped invite: I put my girls in their princess dresses thinking I would get an adorable picture of them both smiling at the same time. Yeah right. Instead I took the funny pictures of them in character wearing their dresses and put it over a Frozen scene. Added text, some graphic elements & filters - and Bam!, Awesome Invite. Don't know how to do that? Call me. ;)

2. Princess Barbie Cake - There are a lot of videos on how to make one of these by baking your cake in a bowl to create the shape of your dress. My sister used to do wedding cakes, and she said that's not that great of a way because it can come out uneven. INSTEAD, bake a bunch of sheet cakes, and freeze them. Then, stack the cakes, cut a hole in and insert barbie (w/ hip joints wrapped in plastic). Then shave the cake into a dress, and frost. We made marshmallow Fondant (1 bag marshmallows, 1 bag powdered sugar) to create the dress this video and Fondant Snowflake Cutters to create snowflakes for the cake and cupcakes - but you could just use regular frosting. In fact, if you want to keep it fun (and in my case, not hear your husband say a bunch of potty words while I made him roll out fondant that wouldn't stick together... ) then just use regular ol' frosting. But, if you are over ambitious watch this video by Ann Reardon.

3. Olaf Piñata. If you've never made a pinata, It's a lot of fun but super messy. You just mix flower and water to a glue -like consistency and dip in strips of paper. You glue these strips in a thin layer around a balloon (or several to cut and create final shape), wait till it dries, and repeat until its a few layers. Once it fully dries, you pop the balloon, glue together with a hot glue gun the shapes you need (we used to circles, and cut the top of of one). I added a layer of duct tape around the thing and create a loop to hang the piñata. I also added more duct tape where I saw fit to make it more difficult to break. Use hot glue to decorate with tissue paper to decorate. Because we had a bunch of two year olds, they got to hit it with a foam sword (did nothing) and then I had my hulk-of-a-brother bust it open with one swing with a stick. Pixie sticks went flying ten feet in the air, and needless to say, the princess guests were thrilled...

Other things we did: Goodie bags with bubble and Frozen tattoos (no more candy please!), Frozen Punch (Mix 50/50 Hawaiian Punch w/ Sprite), and a Blue Chocolate Fountain. 

To Make a Blue Chocolate Fountain: Add Wilton Candy to your chocolate fountain. We used three 12 oz bags and then added about a half cup of Vegetable Oil to help it run Smoothly. We used Marshmallows and Oreos to dip in. Note: DO NOT ADD NON-OIL BASED DIE TO WHITE CHOCOLATE. Adding a non-oil based liquid to chocolate will cause it to cease up.

That's all for now! Hope you're party is magical. And, well - hire me if you want that awesome invite! ;)

Cheap Wedding Centerpiece Candles

My wedding was absolutely awesome. Alas, we had no extra money so literally everything from the cake to the smoked pig to decorations were done by family members or close friends - which made it even more special! 

Wedding decorations are SO expensive especially  if they have that 'wedding' label. For centerpieces, we got bulk flowers from Cosco and Sprouts (due to a wrong delivery and last minute need for flowers...). We got a lot of random decor from oriental trading company and the burlap on sale at Joann's Fabric.  I always wanted to get married at our local ski hill, but due to the time of wedding, I just got a thin-fallen aspen tree, cut it up and my dad and I drilled shallow holes with a drill press & 1.5" spade-bit (I call them paddle bits?) in the pieces. A tea candle fit perfectly. It was really cool to do a project like that with my dad, fairly quick, looks great, and really economical.

We used the paddle bit again to make birdhouses. This time my husband used it as a drill attachment, which I highly recommend clamping whatever you are drilling into securely or it will spin and be well, dangerous.. 

This candle went perfectly with our burlap/sunflower wedding theme. 

This candle went perfectly with our burlap/sunflower wedding theme. 

Each of my nieces and nephews made these, their individual styles really shine through!

Each of my nieces and nephews made these, their individual styles really shine through!

Pullover Sundress - Don't be afraid to try to sew!

For us 'non-sewers' - it's intimidating. The moment you start that dang machine and thread wads up, the needle bends and then you find the bobbin is empty - is it worth it? Yes! I made this pullover sundress because my mom had ordered matching Naartjie outfits for my girls for Easter and the company had run out of the tops in the correct size.  I glued ribbon on top of all the mess ups and uneven edges & I think (from a distance) it looks great! I remember my mom making me a dog-print dress when I was a little girl, and it was really special so again, totally worth it.

Sister Julia gave me this pattern as well as fabric so I had no excuses!

Sister Julia gave me this pattern as well as fabric so I had no excuses!

Designing Fabric

This is so much fun! I ended up making a custom fabric for my mother-in-law and daughters for Christmas! 

You can do this at spoonflower.com. They have great videos and ideas on YouTube - apparently you can make fabric from a photo! 

My m-i-l loves sewing so I made her a custom seal of the mountains behind their house in Montana. MY 18-month-year-old loves her dog so I made one with the dog and we always sing the Richie Valen's "Oh Donna" to our other daughter (Donna...) so that - in a nutshell -  explains the designs.  :)!

blog 2.jpg
blog 1.jpg

Halloween Costumes

Star Wars Characters! My two little girls are Obi Wan and Yoda this year for halloween. I managed to crochet a hat but my mother-in-law, Lydia, made the adorable ears. Julia and Lydia helped with the brown robe and I just made up the pattern by looking at photos of the original characters. I bought the fabric, ribbon and yarn. Basically it would have been cheaper to just buy costumes. 

I wanted to do a photo-shoot that was super star-warsey, but alas, babies seem to despise halloween costumes so this was the best I could do. for now... :) 

Obi Wan & Yoda!

Obi Wan & Yoda!

Apron for a 3 yr old : My First Sewing Project

I started blogging to give me motivation to start and complete (keyword!)  projects. Being a professional momma is a constant 'work in progress' - and today I did my first sewing project since, I don't know, Girl Scouts? One of my friend's daughters is turning the big 3. Apparently that is when kiddos start imagining - so she is getting a kitchen set and I made her an apron to go with it. Julia taught me some valuable lessons with sewing - mainly, if you want to do it, have someone who knows what they're doing show you how to thread the machine from cutting corners to pockets! Also, patience is key. To make this apron we used some scrap curtain fabric, leftover wedding ribbon, pink ruffles & a iron-on kitty. 

photo.JPG

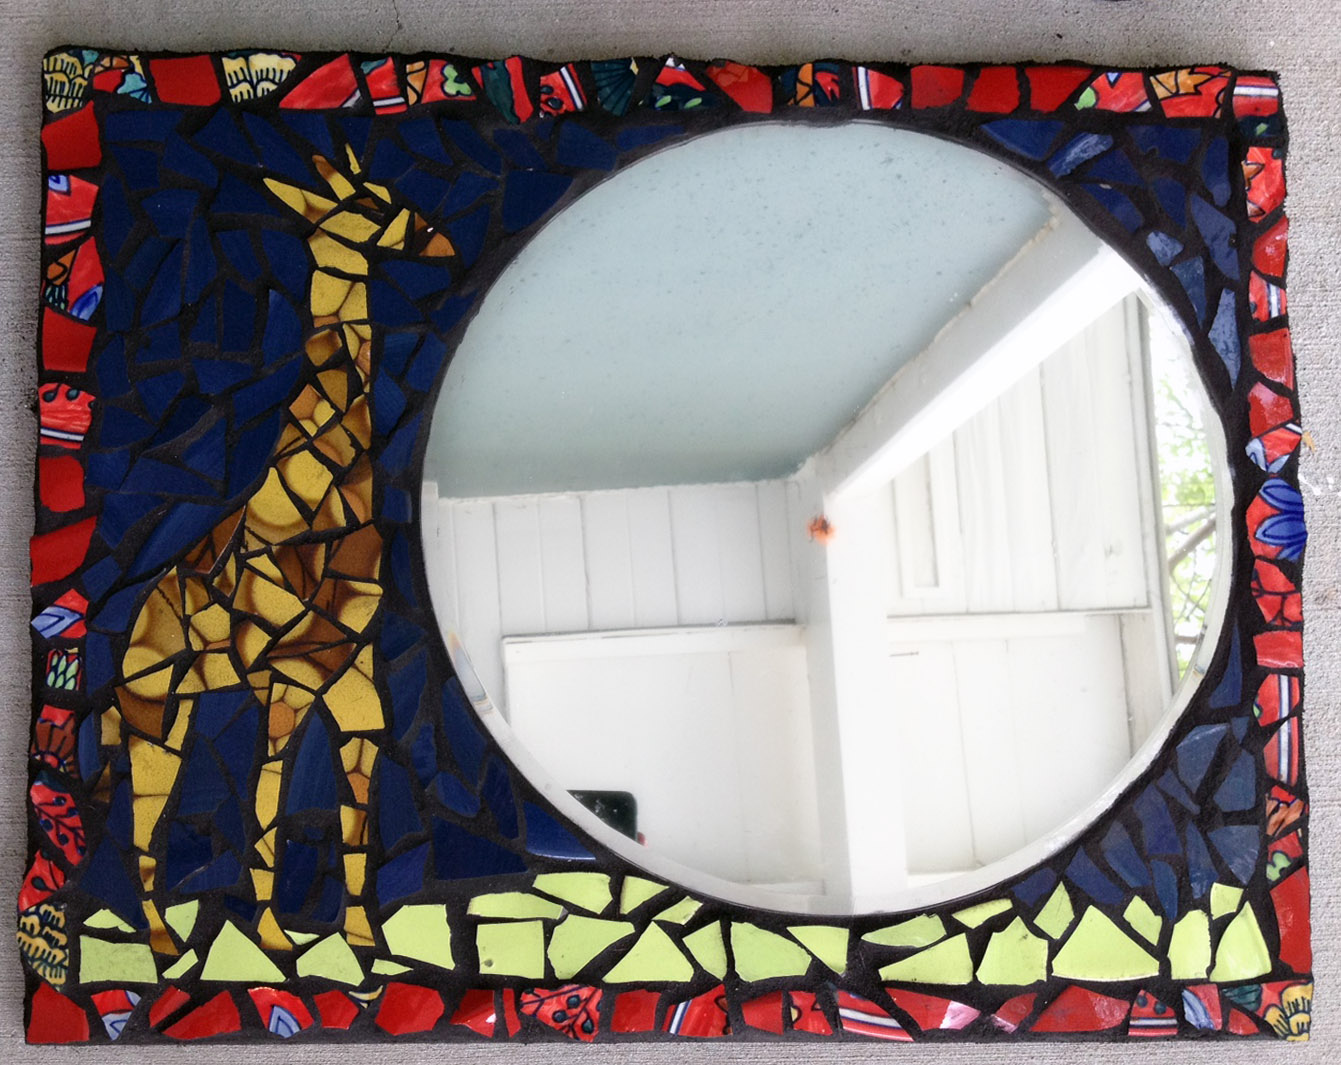
Giraffe Mosaic : W.F.B. Creative Outlet #5

Waiting For Baby Creative Outlet #4. 

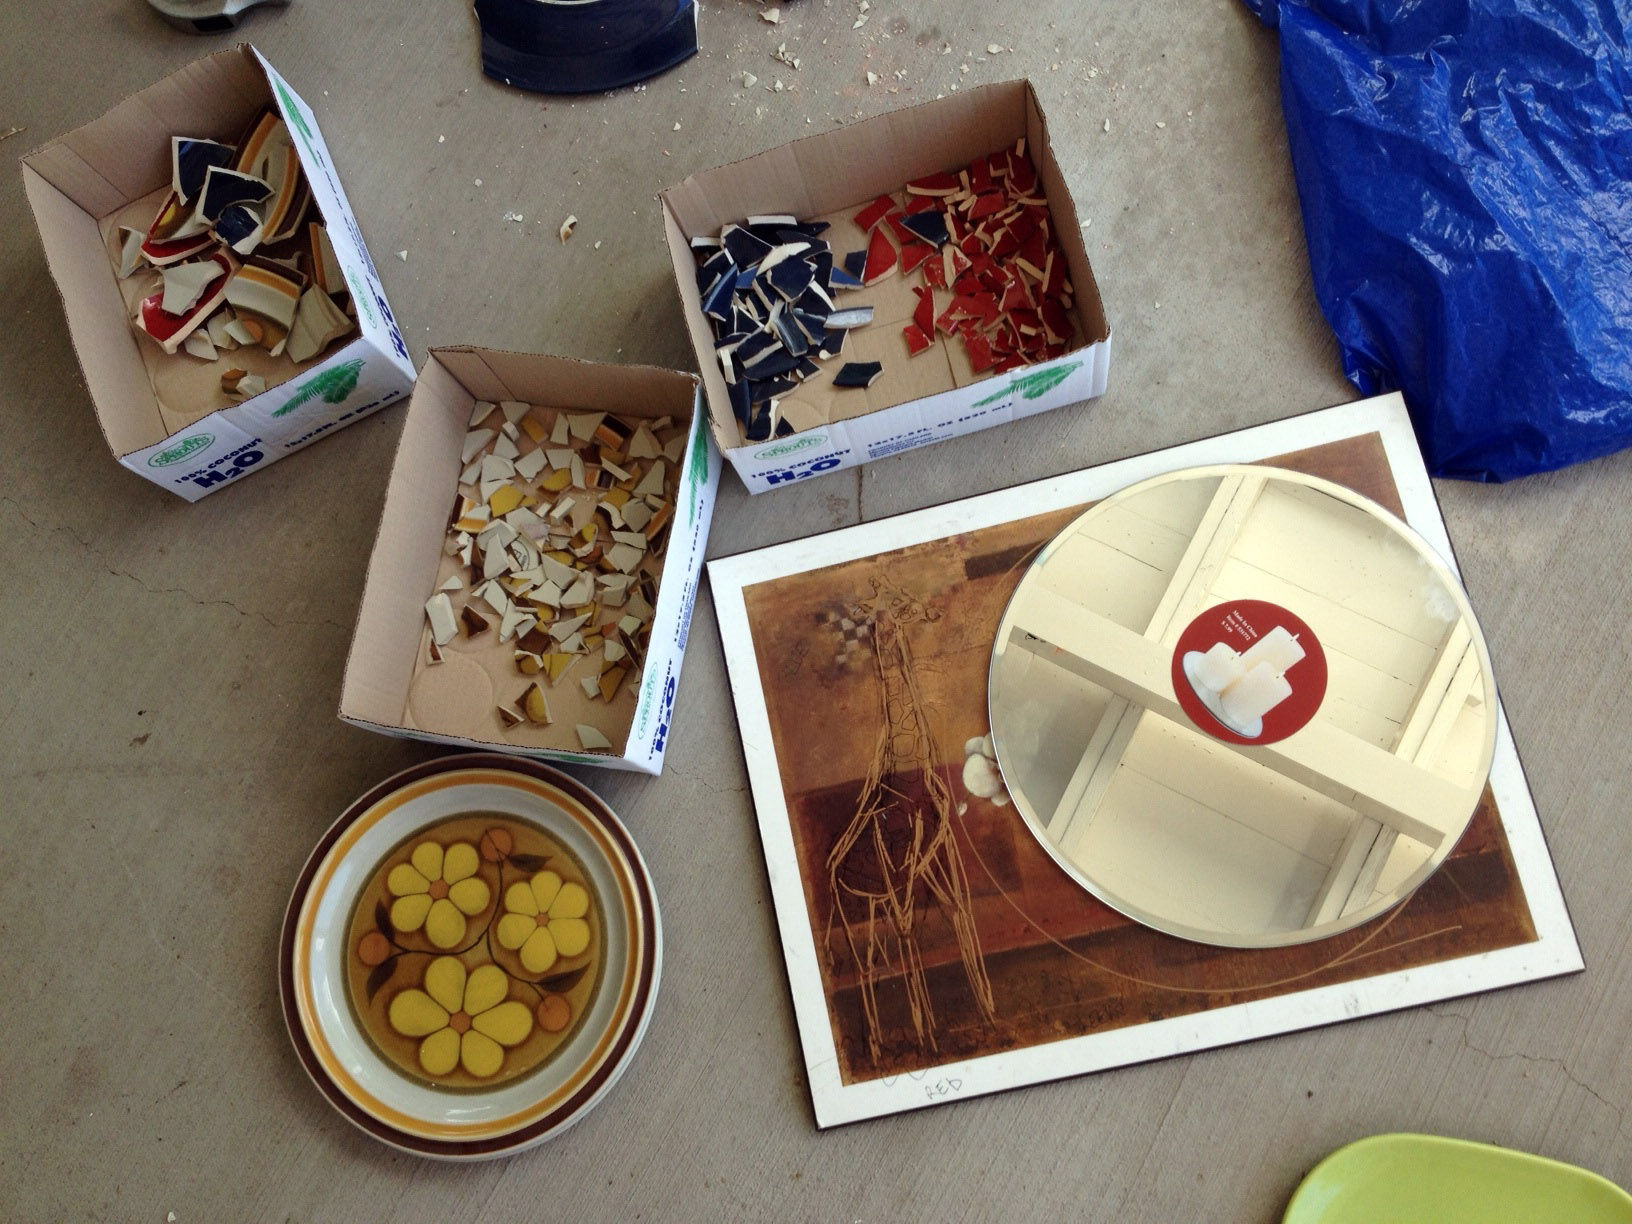
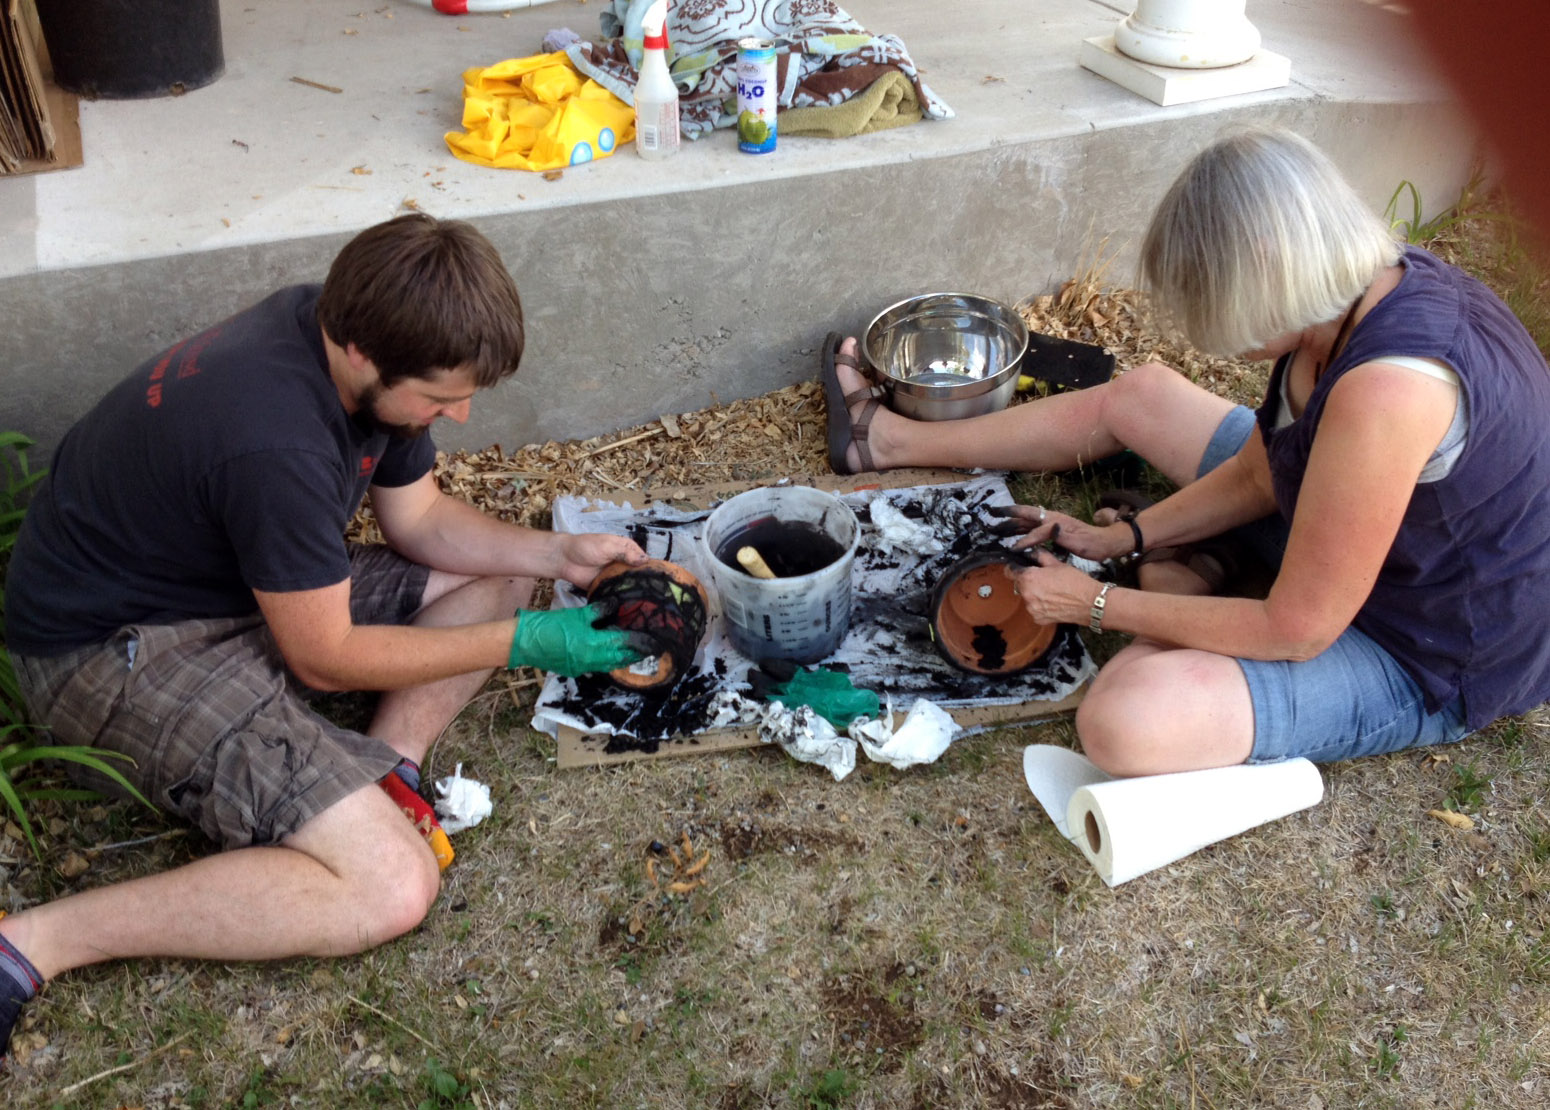
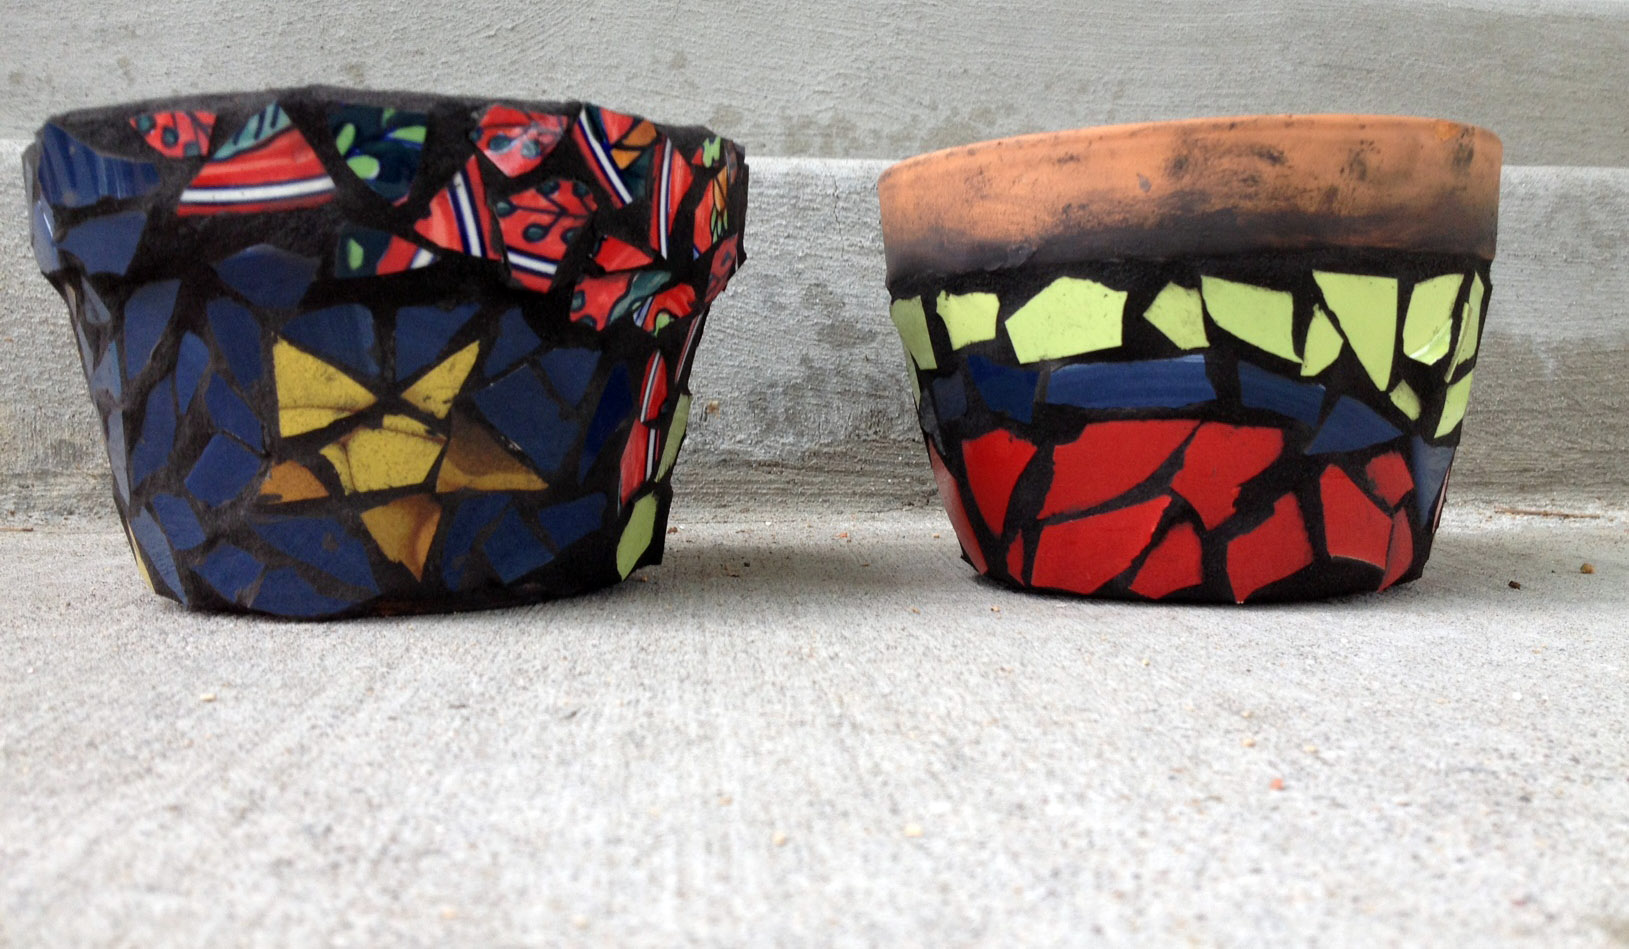
My wonderful mother-in-law Lydia came out to help with the new baby! But, no baby. Instead she taught us how to make mosaics so we decorated a mirror and some pots for the safari baby room. 

We bought old plates, mirror & board at a thrift shop. Lydia brought a tool to break up the plates - but dropping them in clothe bags and using a hammer worked pretty well. Adhesive, dry 24 hours, and grout, 24 or so more hours + sealant and done!

Rocking Zebra Makeover: W.F.B Creative Outlet #4

Waiting For Baby Creative Outlet #4. 

I made this to go with my elephant/safari baby room. 

What you'll need:

- An ol' rocking horse. Preferably one that hasn't seen any love for a long time

- Black and white Acrylic Paint, Green for the base

- Black and White Yarn

- Acrylic Sealer (Although we skipped this and three years later it looks fine)

Pull off yarn-hair, saddles, bridles - basically strip the horse down to the wood. Paint the horse white. Look at a picture of a zebra and copy strip patterns with black acrylic paint. The end of the nose is black, and the stripes curves around the eyes - so pay attention to the picture if you want it realistic looking. (Or copy ours)

To create the mane - Cut yarn into about12 inch pieces. Chunk about twenty pieces together and then lay down a white chunk next to a black chunk on a long strip of news paper. Alternate the colors until you have about two feet (depend on size of your horse) of yarn laid out. Sew through the yarn and sewing to the newspaper, and then remove the newspaper (so it sewed together). Fold the piece in half and sew again. Glue to the horse and trim as needed. For the tail I just tied a knot and braided the yarn and glued it.

My nieces and my sista made this amazing elephant collage - so to match we refurbished this broken ol' rocking horse to be a rockin' zebra!  

horse_1.jpg
horse_2 copy.jpg